Loading...
Loading...
Loading...
Loading...

CURT
Verify Fitment
Select your vehicle to confirm this part fits.



Order by 2 PM ET, Monday–Friday, and it ships the same day.
Trailer hitch weight ratings are limited to vehicle manufacturer's stated capacities
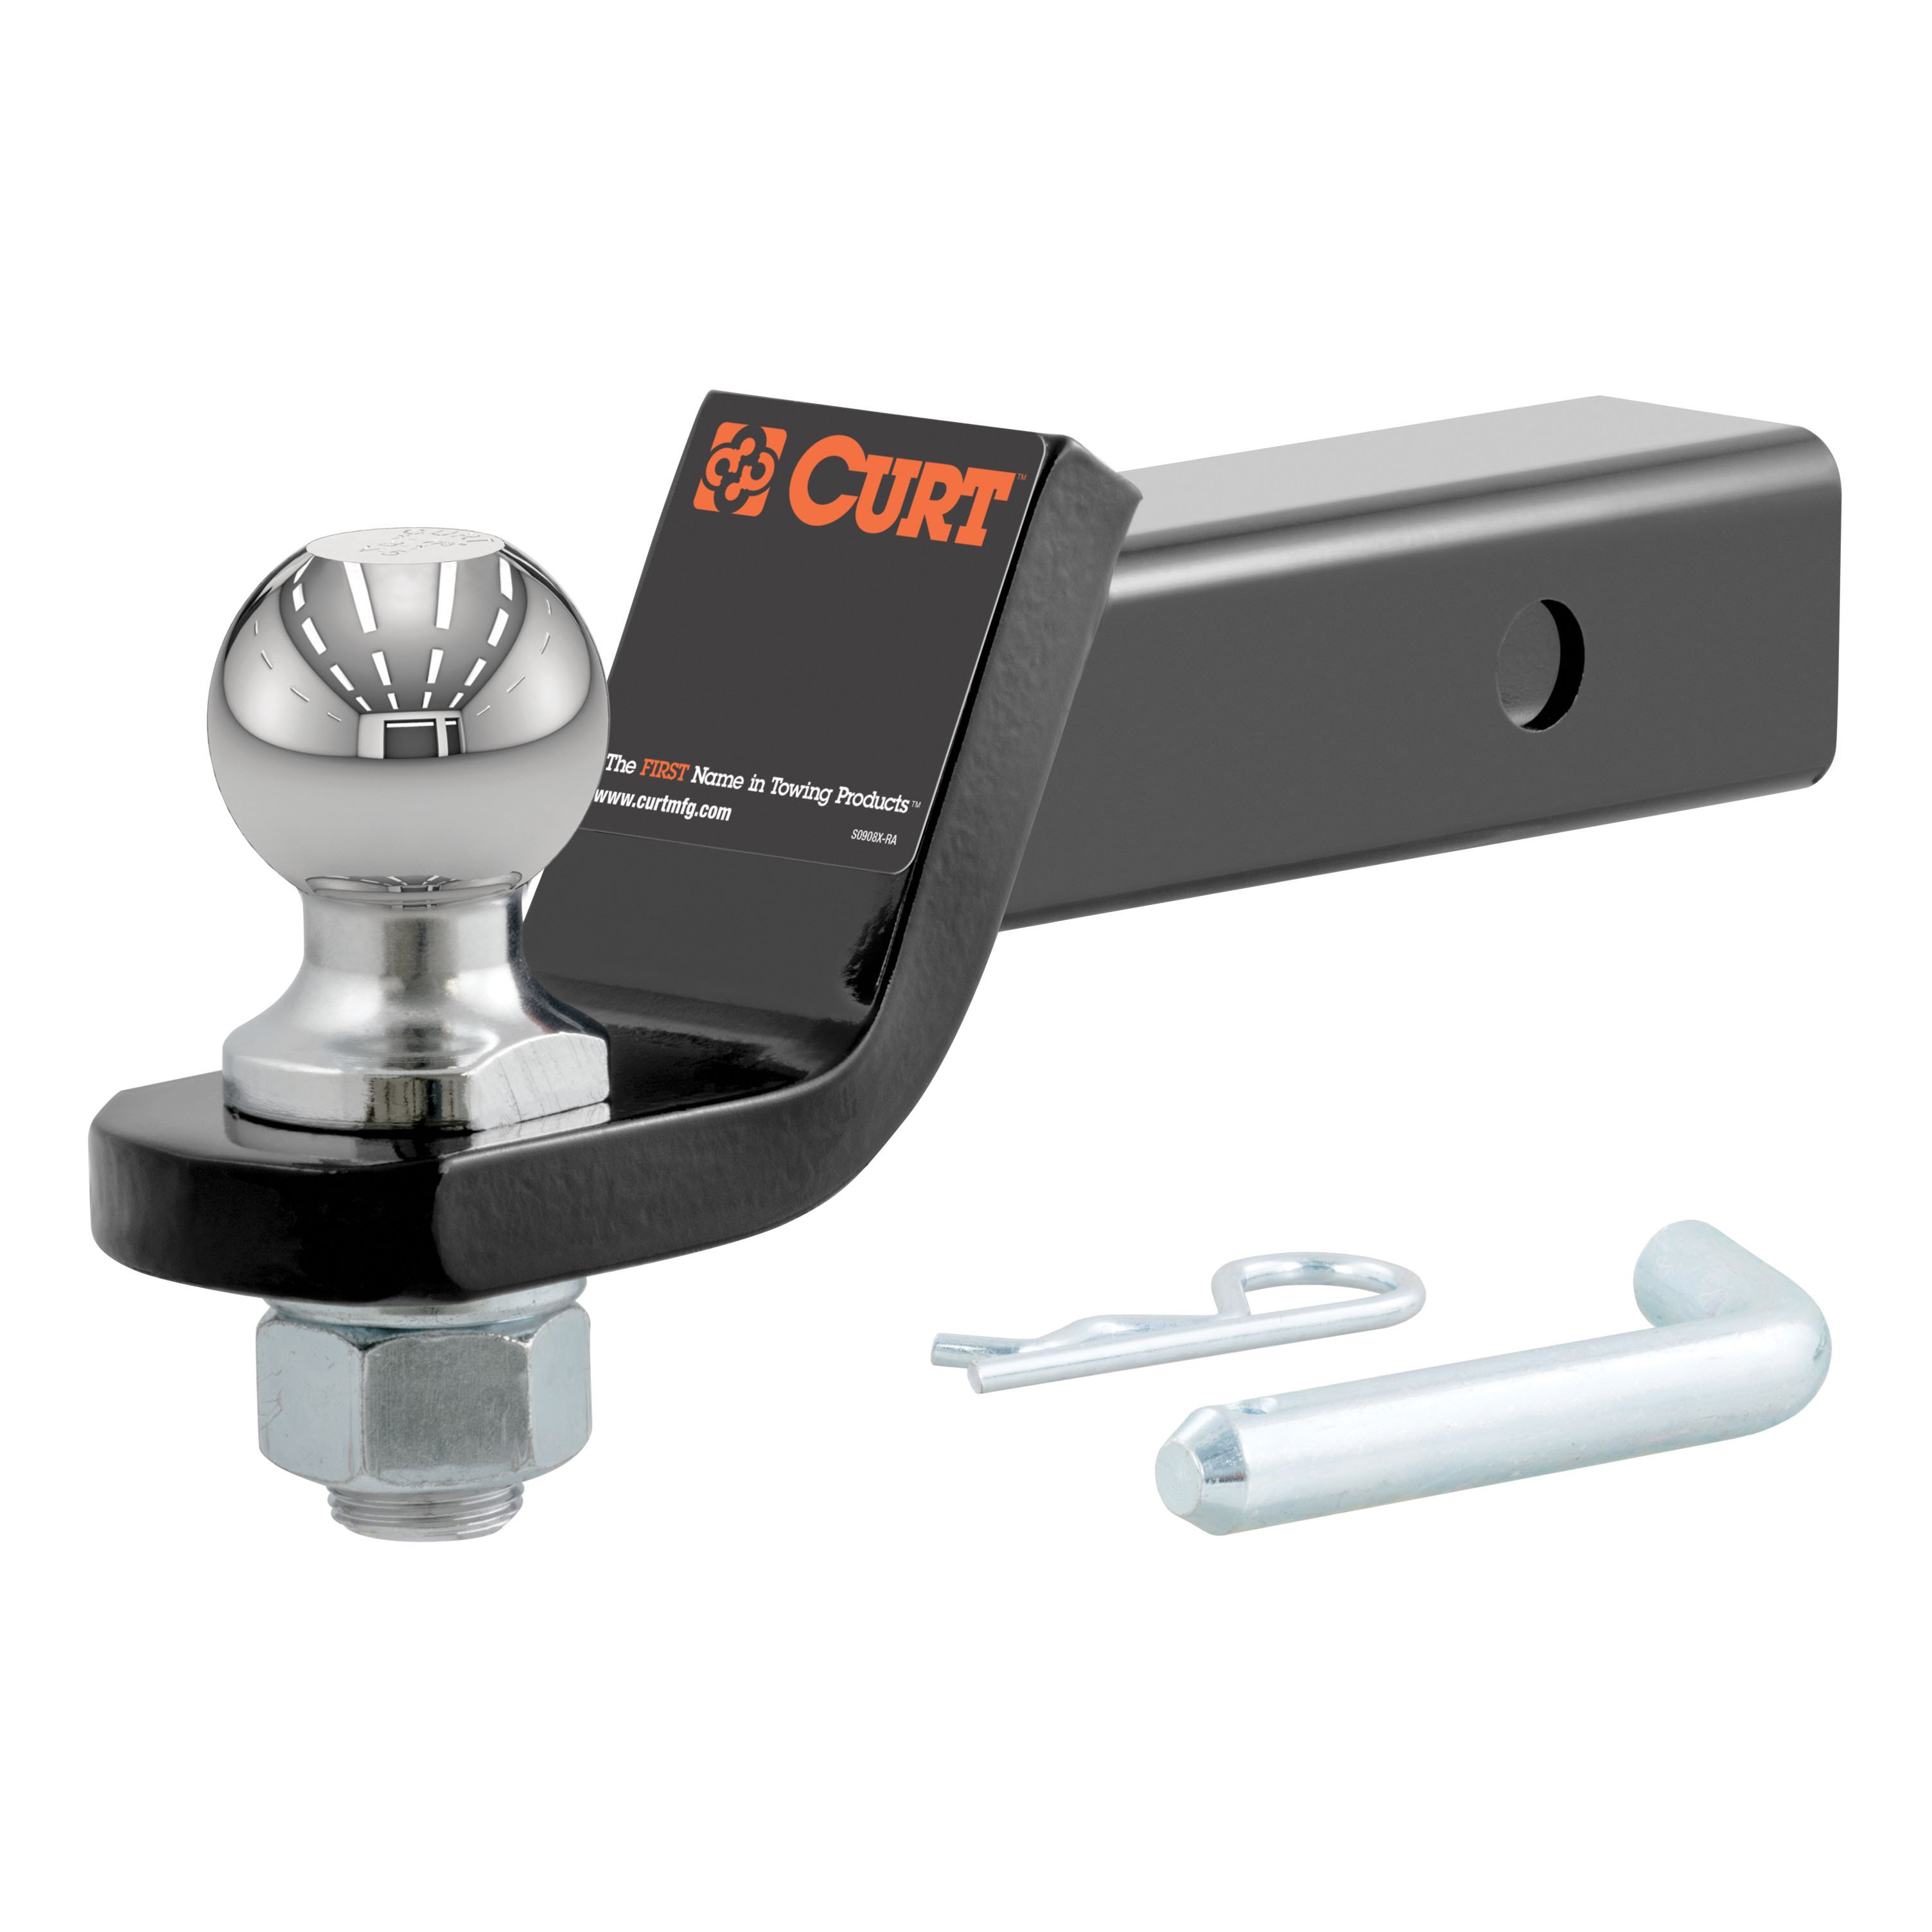
Includes installation hardware

Includes installation hardware


Warranty: Limited Lifetime Warranty (One-Year Finish, One-Year Parts)
Main Body Shape: Square
Receiver Tube Size (Inches): 2 IN
Finish: GLOSS BLACK POWDER COAT
WC / TW (Pounds): 350 LBS / 3,500 LBS
Weight Carrying Capacity (Pounds): 3,500 LBS
WC Tongue Weight (Pounds): 350 LBS
Installation Difficulty: Professional
Installation Time Exact (Minutes): 90
Whatever your task at hand -- whether it's launching that boat before daybreak, setting up your camper before the rush or getting a final load to the dump before close -- CURT class 3 trailer hitches offer the strength needed for serious towing. They make it easy to hitch up and Bring It, offering a vehicle-specific fit and the weight capacity to handle a variety of trailers. Custom class 3 hitches are the most common type of receiver hitch for pickup trucks and SUVs. Because of their weight range, they are also found on full-size cars, crossovers and minivans. Each custom-fit class 3 hitch package is made for vehicle-specific mounting. This particular kit fits certain years of the Subaru Outback and Subaru Legacy (see application info to verify vehicle compatibility). It provides a weight carrying capacity of 3,500 lbs. GTW and 350 lbs. TW. CURT class 3 trailer hitches are typically used to attach and haul utility trailers, boat trailers, campers, snowmobile or ATV haulers and more (NOTE: Never exceed the lowest-rated towing component). Each class 3 hitch has a 2" receiver tube and is tested in accordance with SAE J684 for safety. To ensure that CURT class 3 receiver hitches have what it takes for serious trailering, they are designed using a hands-on approach and are constructed with rugged, high-strength steel and precise welding. We also protect our class 3 hitches in a co-cured finish of liquid A-coat and black powder coat for superior resistance to rust, chipping and UV damage.

CURT offers a variety of high-quality trailer hitches and accessories for select vehicle models. Find the perfect fit for your towing needs at TowUniverse.
CURT, a Lippert brand, offers a complete line of towing products and is the leading manufacturer of custom-fit trailer hitches. We offer the broadest selection of custom-fit hitches, and each one is designed, welded, and coated in Wisconsin.
CURT is also a leader in flat towing products, as well as 5th wheel, gooseneck, and weight distribution hitches, ball mounts, electrical components, cargo solutions, and other towing accessories.
For everything from passenger cars and vans to full-size pickups and SUVs, CURT is 'The First Name in Towing Products®.'
Limited Lifetime Warranty (One-Year Finish, One-Year Parts)
Rediscover "Us" Time | Tested. Proven. Safe. Towing Products
2 compatible vehicles
| Year | Make & Model | Notes |
|---|---|---|
| 2020 - 2025 | Subaru Legacy | No Drilling Required Installation Time: 90+ minutes Visibility: Concealed Bumper fascia trimming required Temporary bumper fascia removal required Temporary bumper removal required |
| 2020 - 2026 | Subaru Outback | No Drilling Required Installation Time: 90+ minutes Visibility: Concealed Bumper fascia trimming required Temporary bumper fascia removal required Temporary bumper removal required |
This CURT 13494 Class 3 hitch fits 2020-2025 Subaru Legacy models, so unfortunately it won't work for your 2026 Legacy. The 2026 model year isn't covered by this part number, so you'll need to check for an updated hitch version that supports the newer model year.
Yes, the CURT 13494 Class 3 hitch is specifically designed to fit 2020-2025 Subaru Legacy models, so your 2023 Legacy is covered. This hitch provides 3,500 lbs towing capacity with a 2-inch receiver and includes all necessary installation hardware.
The CURT 13494 fits 2020-2025 Subaru Legacy and 2020-2026 Subaru Outback models. It's designed with vehicle-specific mounting points for a custom fit and concealed main body that maintains the OE look of your Subaru.
The CURT 13494 is engineered for vehicle-specific mounting and typically takes about 90 minutes to install. No drilling is required thanks to the custom-fit design, and you can usually get it done with basic hand tools. The kit includes all installation hardware you'll need.
The CURT 13494 is designed for Subaru Outback Wilderness only. The manual does not specify which model years are compatible. Contact CURT product support at 877-287-8634 or check curtmfg.com to confirm your vehicle's model year before purchasing.
The CURT 13494 has a gross trailer weight (GTW) capacity of 3,500 lbs. and a tongue weight (TW) capacity of 350 lbs. Never exceed your vehicle manufacturer's recommended towing capacity.
Subaru Outback Wilderness only. Confirm your model year with CURT product support at 877-287-8634 before purchasing.
Gross trailer weight: 3,500 lbs. Tongue weight: 350 lbs. Never exceed your vehicle manufacturer's recommended towing capacity.
Required tools: 11/16", 10mm, 14mm, and 17mm sockets; socket extension (6"); ratchet; torque wrench; tape measure; masking tape; safety glasses; aviation shears; and fishwire (7/16", 2 qty included). For a full tools reference guide, visit curtmfg.com/trailer-hitch-installation.
You will need 11/16", 10mm, 14mm, and 17mm sockets, plus a 6" socket extension, ratchet, and torque wrench.
The kit includes: 2 carriage bolts (7/16"-14 x 1-1/4", grade 8); 4 hex bolts (M10 x 1.25 – 35); 2 serrated-flange nuts (7/16" – 14); 4 conical-toothed washers (3/8"); and 2 fishwire tools (7/16").
Yes. Installation requires removal of the bumper cover (Step 2) and bumper beam (Step 3). Both are reinstalled after the hitch is mounted and the bumper fascia is trimmed (Steps 5–7). The bumper cover has electrical connectors that must be disconnected during removal.
No drilling is required. However, the installation requires partial removal and trimming of the underbody panel and trimming of the bumper fascia using the trim diagram provided in Step 7.
Yes. Step 7 requires trimming the bumper fascia using the trim diagram provided. The underbody panel also requires partial removal and trimming.
If your vehicle has mud flaps, they must be removed first using an 8mm socket to remove two bolts and a flathead screwdriver to remove two push fasteners. Save them for reinstallation in Step 7.
1. Remove seven plastic fasteners from bumper cover bottom and one from each wheel well (Step 1). 2. Remove bumper cover and disconnect electrical connectors (Step 2). 3. Remove four bolts and two nuts from bumper beam using 17mm and 14mm sockets; save nuts (Step 3). 4. Raise hitch into position, slide tabs into frame rail, and fishwire carriage bolts through side plate and frame rail; secure with serrated-flange nuts (Step 4). 5. Place bumper beam over hitch and secure with saved nuts; loosely install M10 bolts and conical-toothed washers (Step 5). 6. Torque all hardware (Step 6). 7. Trim bumper fascia and reinstall bumper cover (Step 7).
Insert the coiled end of the fishwire through the hitch mounting hole in the vehicle frame rail and out the access hole. Pass the coiled end through the spacer and thread the bolt into the coil. Kink the wire to keep the spacer separate from the bolt. Pull the fishwire, spacer, and bolt through the frame and out the mounting hole. Use the fishwire to guide the hitch during mounting and prevent loss of the bolt or spacer inside the frame rail.
Leave the M10 bolts and conical-toothed washers loose during Step 5. Tighten all hardware to final torque specifications only in Step 6, after the bumper beam is positioned over the hitch.
Torque all M10 hardware to 45 ft-lbs and all 7/16" hardware to 59 ft-lbs. Use a torque wrench to ensure proper tightening and prevent damage to the product or vehicle.
M10 hardware: 45 ft-lbs. 7/16" hardware: 59 ft-lbs. Use a torque wrench for proper installation.
The conical-toothed washers are installed with the hex bolts on the bumper beam. The diagram on page 2 shows the washer orientation relative to the vehicle frame and hitch side plate. The washers should be positioned between the hex bolt head and the bumper beam surface.
Yes. Save all fasteners removed during installation for reinstallation: the seven plastic fasteners from the bumper cover bottom and one from each wheel well (Step 1), the two nuts from the bumper beam (Step 3), and the two bolts and two push fasteners from mud flaps if present (Step 1 note). All are reinstalled in Step 7.
Wear safety glasses at all times during installation. Never exceed your vehicle manufacturer's recommended towing capacity. Proper tools will improve installation quality and reduce time required. Read all instructions thoroughly before beginning.
Safety glasses must be worn at all times during installation. Never exceed your vehicle manufacturer's recommended towing capacity.
Periodic inspection of the trailer hitch should be performed to ensure all mounting hardware remains tight and structural components are secure. Check that all bolts and nuts are properly torqued to the specified values (M10 hardware to 45 ft-lbs and 7/16" hardware to 59 ft-lbs).
Periodic inspection should be performed to ensure all mounting hardware remains tight and structural components are secure.
The installation difficulty level is Difficult. Installation difficulty levels are based on time and effort involved and may vary depending on the installer's level of expertise, condition of the vehicle, and availability of proper tools and equipment.
Visit www.curtmfg.com for a full-color copy of the installation manual, as well as helpful videos, guides, and more. For product support, call 877-287-8634.
To register your purchase, get copies of product warranties, or provide feedback, visit warranty.curtgroup.com/surveys. CURT stands behind its products with industry-leading warranties.
Total for 5 items: $482.00$371.53
No reviews have been added for this product.