Loading...
Loading...
Loading...
Loading...

Tekonsha
Verify Fitment
Select your vehicle to confirm this part fits.
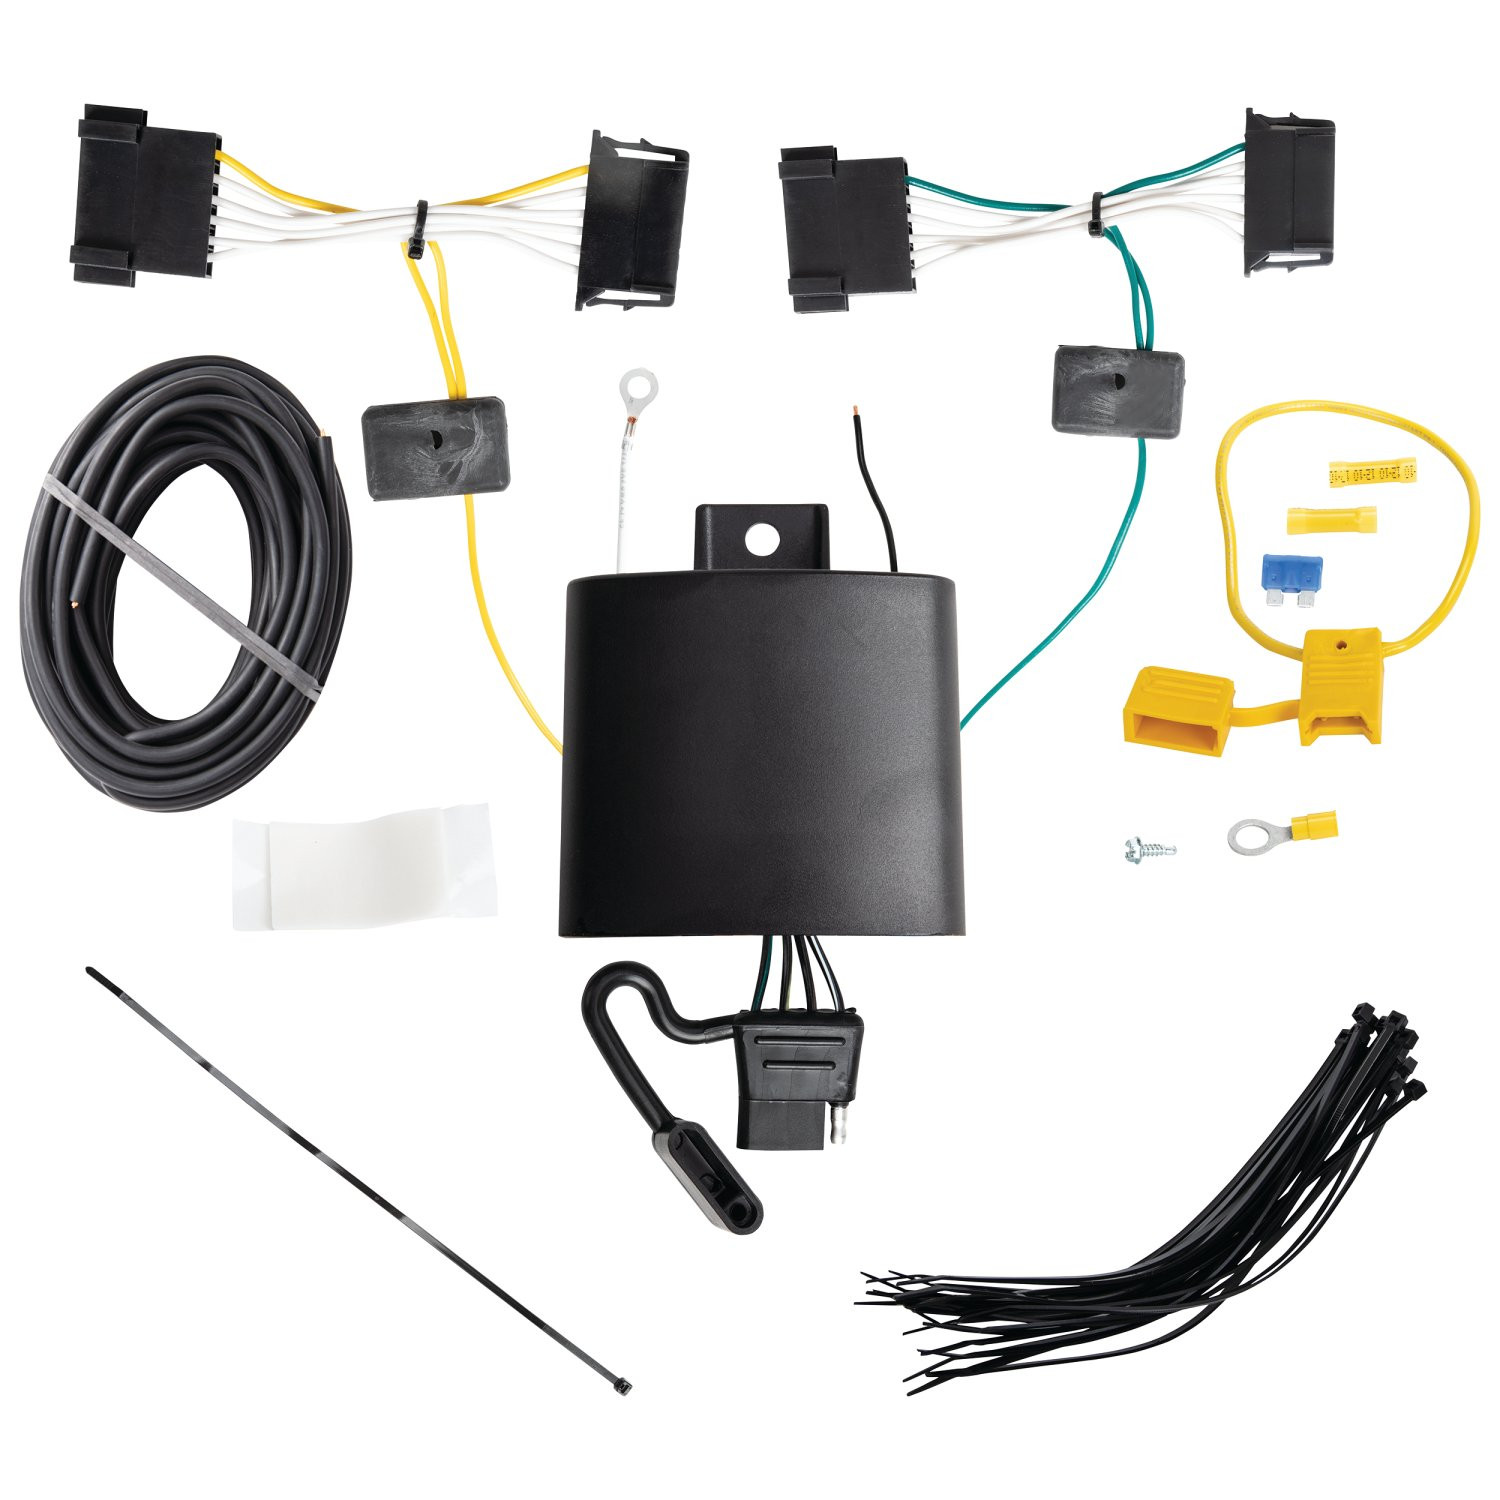
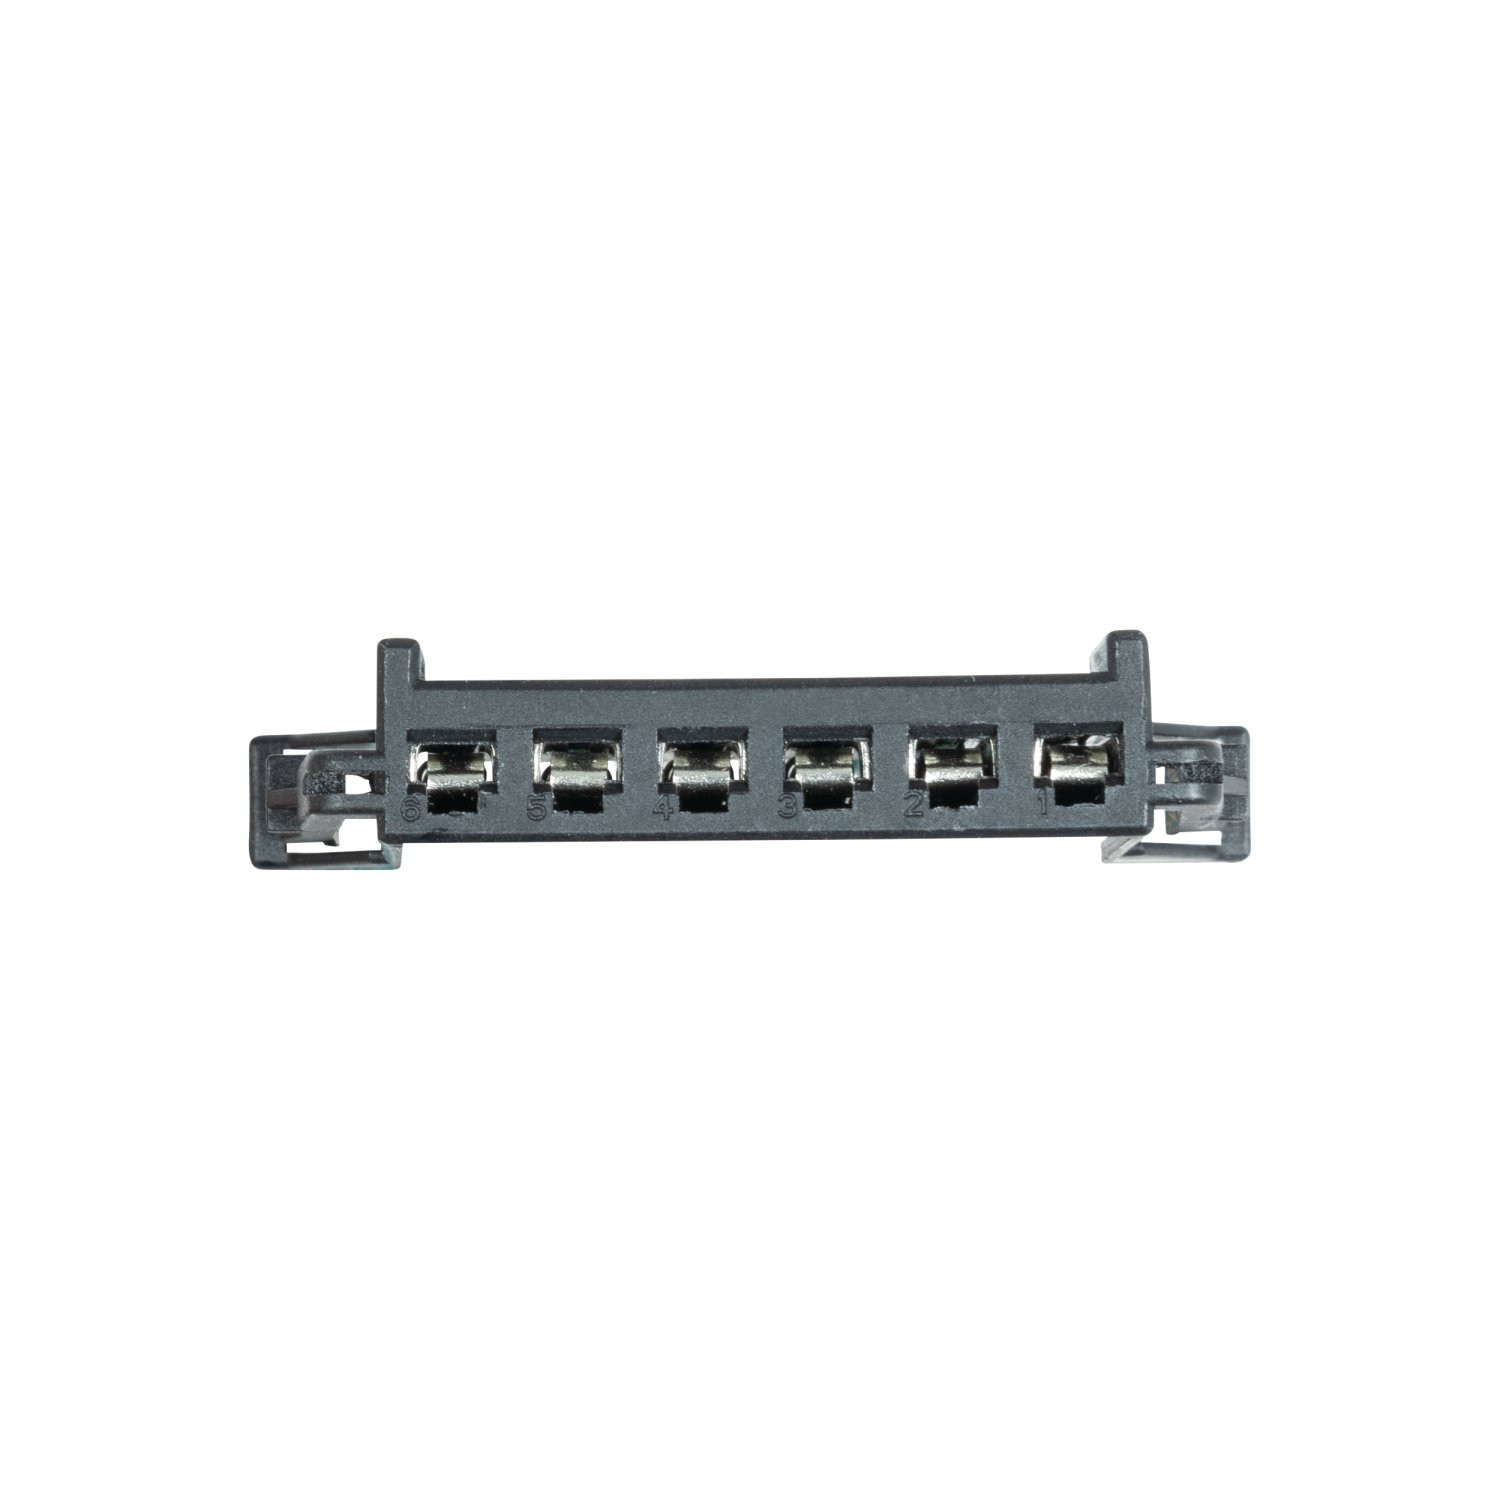
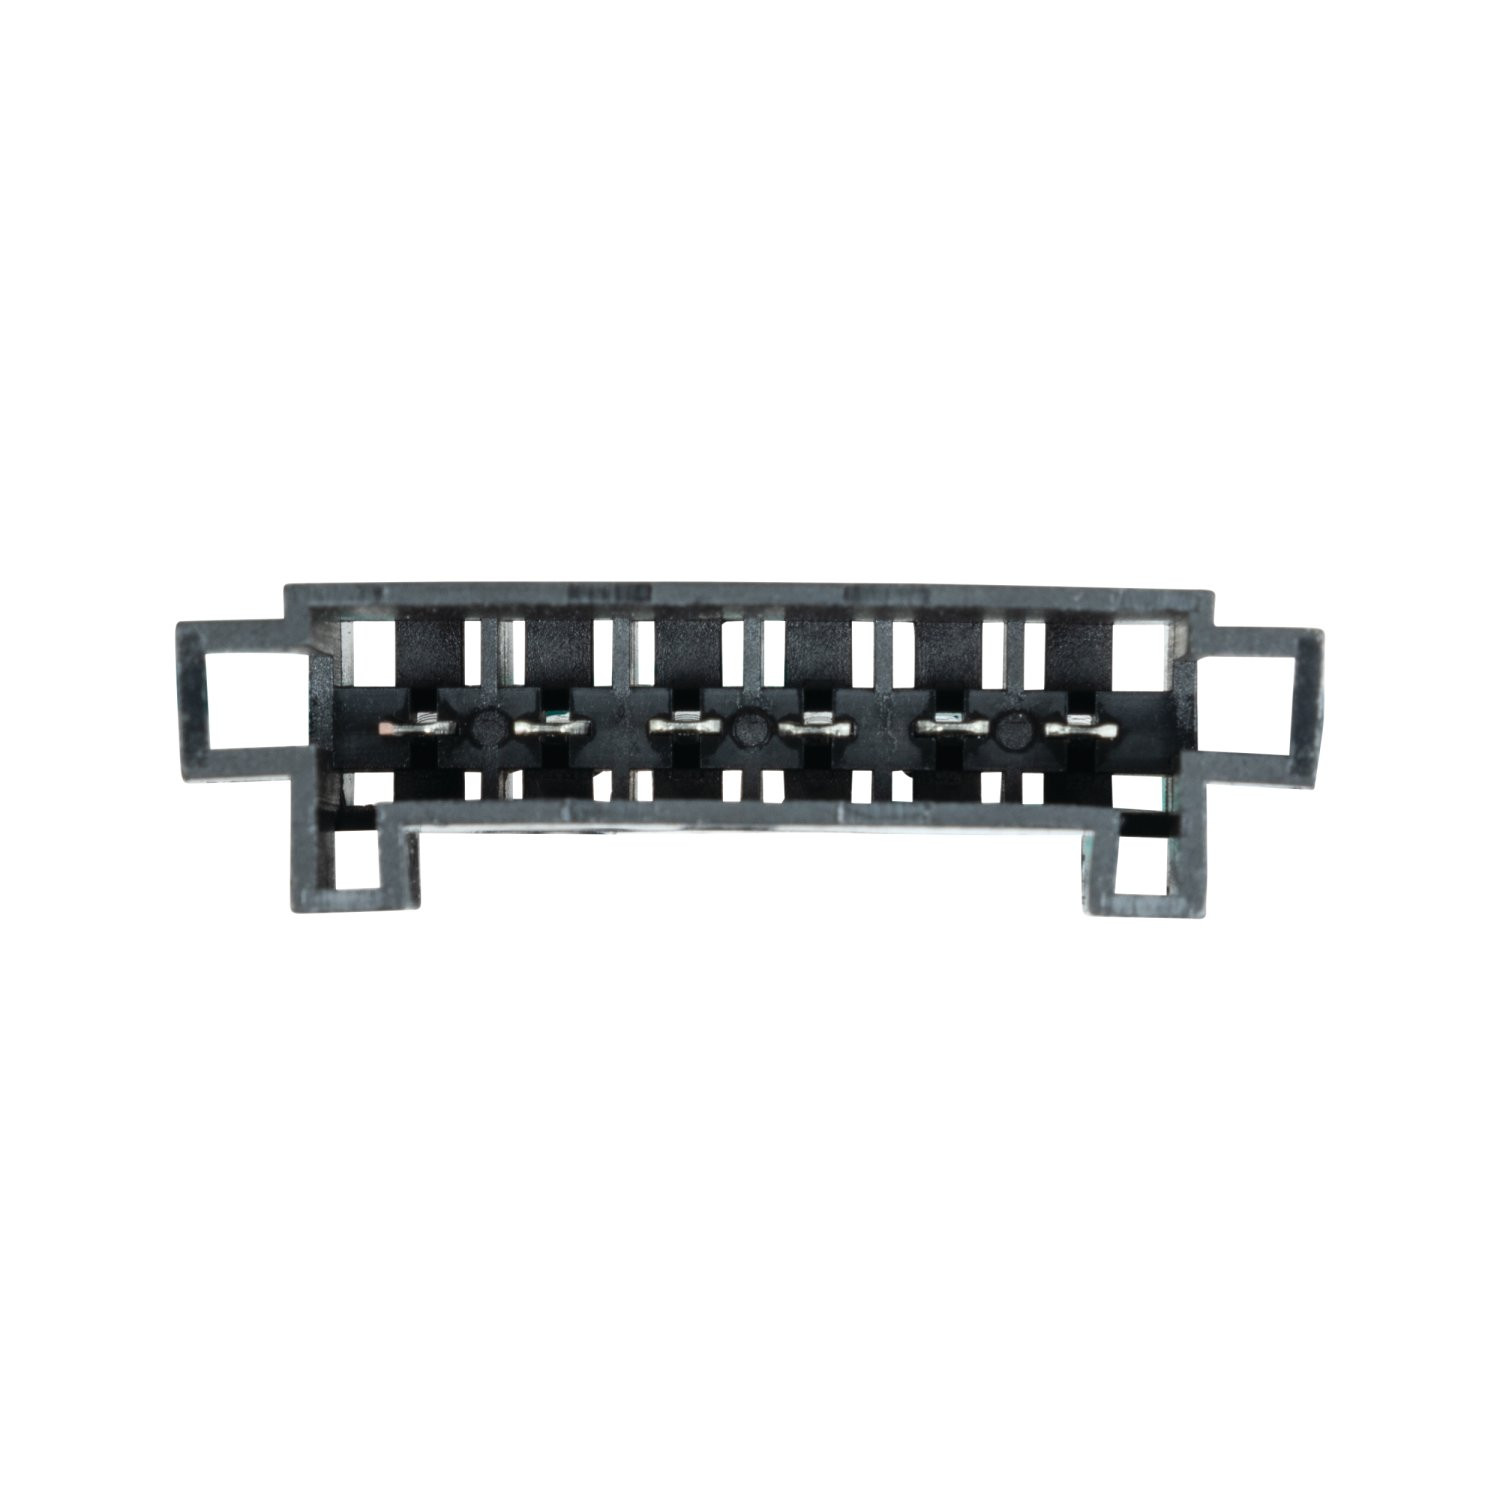

Tekonsha T-One connector (also referred to as T-Connector) wiring harnesses are the fastest and easiest way to add an electrical connector to the back of your vehicle. These connectors are used to link the wiring from your vehicle to the trailer when towing. Tekonsha T-One connectors feature custom designs to fit each vehicle make and model based on manufacturer specifications. Plus, the Plug & Play connectors on the end of the wires make it easy to install. No cutting or splicing!
Tekonsha offers the largest, most complete line of T-One connectors. To install a Tekonsha T-One wiring harness, simply locate your vehicle's wiring harness connector typically behind the vehicle taillight - unplug the connection and insert the T-Connector into the vehicle's harness. It's that easy! So what are you waiting for? Hit the road with the peace of mind only Tekonsha can provide. Life's a Journey. Stop Often.
| BRAND: | TEKONSHA |
| PART NUMBER: | 118876 |
| WARRANTY: | LIMITED 1 YEAR WARRANTY |
| WEIGHT: | 1.5 LBS |
| UNIVERSAL OR SPECIFIC FIT: | SPECIFIC |
| CIRCUIT PROTECTED: | YES |
| HARNESS TYPE: | MALE FEMALE |
| TERMINAL QUANTITY: | 4 |
| WIRE COLORS: | BROWN, GREEN, YELLOW, WHITE |
| WIRE QUANTITY: | 4 |
| WIRE GAUGE: | 16 GA. |
| POWER LEAD REQUIRED: | YES |
| ELECTRICAL SYSTEM TYPE: | 3-WIRE SYSTEM |
| HARDWARE INCLUDED: | YES |



Tekonsha is a leading manufacturer of electronic trailer brake controllers, pioneering the category in the 1970s. The lineup spans proportional units such as the Prodigy P3 and Prodigy iD, time-delayed controllers, the wireless Prodigy RF, plus vehicle-specific wiring harnesses, adapters and trailer brake components engineered for smooth, predictable stopping at any speed.
Tekonsha Engineering Company began in 1964 building RV steps and mirrors. Within a few years it had found its real calling, and by the 1970s Tekonsha was pioneering the manufacture of electronic trailer brake controllers, the product category that still defines the brand. More than half a century later it remains the reference name in trailer braking and is part of the Horizon Global group alongside Reese, Draw-Tite, Fulton, Bulldog and Wesbar.
A brake controller is the component that tells a trailer's electric brakes how hard to work and when, and getting that right is the difference between a controlled stop and a shove from behind. Tekonsha builds both major types. Proportional controllers use an internal accelerometer to sense how quickly the tow vehicle is slowing and apply trailer braking to match, so light braking stays light and hard braking is immediate. Time-delayed controllers ramp to a preset output over a fixed interval, a simpler and more economical approach that suits occasional towing.
The current brake controller range covers most of that ground. The Prodigy iD pairs with a phone through Tekonsha's EDGE technology for setup and monitoring, the P3 offers storable settings for multiple trailers and a trilingual colour LED display, the Prodigy P2 adds a dimmable display and boost mode for heavier loads, and the Voyager keeps operation simple and dependable. The Prodigy RF mounts to the trailer itself and controls wirelessly, which suits rental fleets and drivers who swap tow vehicles.
Installation is supported by vehicle-specific brake control harnesses that plug into a factory connector rather than requiring cut-and-splice wiring, along with mounting brackets and adapters. Matched controller bundles pair a unit with the correct harness. Products are tested to meet and often exceed published industry standards.
1 Year
4 compatible vehicles
| Year | Make & Model | Notes |
|---|---|---|
| 2019 - 2021 | Freightliner Sprinter 2500 | Tow Harness T: Connector Assembly Drilling Required Install Time is 60 minutes |
| 2019 - 2021 | Freightliner Sprinter 3500 | Tow Harness T: Connector Assembly Drilling Required Install Time is 60 minutes |
| 2019 - 2021 | Mercedes-Benz Sprinter 2500 | Tow Harness T: Connector Assembly Drilling Required Install Time is 60 minutes |
| 2019 - 2021 | Mercedes-Benz Sprinter 3500 | Tow Harness T: Connector Assembly Drilling Required Install Time is 60 minutes |
Yes, the 2019-2021 Freightliner Sprinter 2500 3500 Tekonsha Plug & Play T-Connector Adapter Trailer Wiring 118876 (Part #TK118876) is designed to fit the 2019-2021 Freightliner Sprinter 2500.
The 2019-2021 Freightliner Sprinter 2500 3500 Tekonsha Plug & Play T-Connector Adapter Trailer Wiring 118876 (Part #TK118876) fits 2019-2021 Freightliner Sprinter 2500 models. The 2021 model year is the last year covered by this part number. For newer models, check for an updated version.
The 2019-2021 Freightliner Sprinter 2500 3500 Tekonsha Plug & Play T-Connector Adapter Trailer Wiring 118876 (Part #TK118876) fits the following vehicles: 2019-2021 Freightliner Sprinter 2500; 2019-2021 Freightliner Sprinter 3500; 2019-2021 Mercedes-Benz Sprinter 2500; 2019-2021 Mercedes-Benz Sprinter 3500. Always verify your specific year, make, and model before ordering.
The 2019-2021 Freightliner Sprinter 2500 3500 Tekonsha Plug & Play T-Connector Adapter Trailer Wiring 118876 (Part #TK118876) Drilling is required for installation. Basic hand tools are typically all you need.
Yes, the T-One® T-Connector is designed for Mercedes Sprinter and Freightliner Sprinter vehicles. The manual confirms these are the compatible applications.
The T-One® T-Connector is a trailer wiring harness that integrates with your vehicle's taillight wiring system. It uses a T-shaped connector design that taps into the existing taillight harness on both driver and passenger sides, allowing you to connect a trailer without cutting or permanently modifying factory wiring. The system includes a black box module, fused power connection to the battery, and a 4-flat connector for the trailer.
Required tools are: trim panel remover, 10mm socket and ratchet or 10mm wrench, drill with 3/32" drill bit, 1/4" socket, wire crimpers, wire cutters, Phillips head screwdriver, test probe, Torx 25 driver, and Torx 30 driver.
Yes. You must disconnect the vehicle's negative (-) battery cable before connecting the power wiring to the battery. This is done in step 12 after routing the black 12 gauge wire to the battery area. The negative cable is reconnected in step 13 after the fuse holder is installed.
Mount the T-One® T-Connector's black box module on a flat surface near the taillight area inside the vehicle. This placement prevents damage or rattling during vehicle operation.
On the driver's side, insert the T-Connector end with the yellow wire between the vehicle's taillight wiring connectors and lock into place, being careful not to damage the locking tabs. Ensure connectors are fully inserted with locking tabs engaged. Repeat this process on the passenger side with the T-Connector end containing the green wire. Before connecting, separate the factory connectors carefully and ensure all connector surfaces are clean and free of dirt.
Route the green wire end up through the inner channel to the roof area, following existing wiring and routing over to the passenger side. Conceal the wire behind plastic wire covers when possible and secure to existing wiring using the provided cable ties. Route the black 12 gauge power wire up through the channel to the roof area, forward toward the driver seat, concealing it behind plastic wire covers. Continue routing behind the trim panel next to the driver seat to the floor, avoiding areas that would cut or pinch the wire. Finally, route the black wire to the battery underneath the floor covering, following existing wiring.
Yes, drilling is required. You must drill a 3/32" hole on the driver's side near the black box to create a grounding point for the white wire. The white wire is then secured using the provided eyelet and screw. However, do not drill into the vehicle floor or bed. Before drilling, verify what is behind any surface to avoid damage to the vehicle or personal injury, and do not drill into any exposed surfaces.
The fuse rating is 15 amperes. A 15 amp fuse is installed in the yellow fuse holder that connects the vehicle's positive battery cable to the black 12 gauge power wire.
After routing the black 12 gauge wire to the battery area, disconnect the vehicle's negative (-) battery cable. If not already removed, remove the fuse from the yellow fuse holder provided. Cut the fuse holder wire, attach the ring terminal to the vehicle's positive (+) battery cable, and secure it. Connect the other end of the fuse holder to the black 12 gauge wire using the yellow butt connector provided. Reconnect the negative battery cable and install the 15 amp fuse into the fuse holder.
Store the 4-flat connector in the rear cargo area when not in use.
Always wear safety glasses during installation. Before drilling, verify what is behind any surface to avoid damage to the vehicle or personal injury. Do not drill into the vehicle floor, bed, or any exposed surfaces. Route wires carefully to avoid areas that would cut, pinch, or melt the wire. Read and follow all warnings and cautions printed on the tow vehicle's battery. Do not exceed the towing manufacturer's rating or the product's amperage ratings, as overloading circuits can cause fires.
All connections must be complete for the T-One® T-Connector to function properly. Test and verify the installation with a test light or trailer once installed. For the initial test, reset the vehicle electrical system by temporarily removing the key from the ignition.
Open the rear doors and locate the plastic covers that cover the rear of the vehicle taillight on each side. Using a trim panel puller, carefully remove three covers on each side. The first cover on each side will expose the taillight harness. The two upper covers will assist with routing the wiring.
Gain access to the vehicle battery underneath the driver's side floor area. Remove the three screws holding the trim threshold in place. Pull back the floor cover to expose the metal battery cover. Remove the screws and pull off the metal cover to expose the battery.
After installation is complete, secure the remainder of the T-Connector harness with the provided cable ties to prevent damage or rattling, being careful to avoid any areas that would pinch, cut, or melt the wire. Replace the battery cover, floor coverings, rear plastic covers, and all other items removed during installation.
The T-One® T-Connector (118876-037) is designed for Mercedes Sprinter and Freightliner Sprinter vehicles.
You need: trim panel remover, 10mm socket/ratchet or wrench, drill with 3/32" bit, 1/4" socket, wire crimpers, wire cutters, Phillips screwdriver, test probe, Torx 25 and Torx 30 drivers.
Yes, you must disconnect the vehicle's negative (-) battery cable before connecting the power wiring. Reconnect it after the fuse holder is installed.
The fuse rating is 15 amperes. Install a 15 amp fuse in the yellow fuse holder after connecting the power circuit to the battery.
Do not exceed the towing manufacturer's rating or the product's amperage ratings. Overloading circuits can cause fires. Always wear safety glasses during installation.
Verify that all connections are complete. Ensure the 15 amp fuse is installed in the fuse holder. Check that the negative battery cable is reconnected. Test the installation with a test light or trailer. If the system still does not function, reset the vehicle electrical system by temporarily removing the key from the ignition, then retest. The manual states that all connections must be complete for the T-Connector to function properly.
Ensure the connector surfaces are clean and free of dirt. Verify that you are inserting the connector ends fully between the vehicle's taillight connectors. Be careful not to damage the locking tabs during insertion. The locking tabs must be fully engaged for a secure connection. If the tabs are damaged, the connector will not lock properly and the installation cannot proceed.

Order by 2 PM ET, Monday–Friday, and it ships the same day.
Total for 4 items: $222.89
Matt
Ordered online. Shipment arrived on time and with all the correct parts. Great customer service and friendly staff. Also, pricing was great!
May 22, 2023


