Loading...
Loading...
Loading...
Loading...

Draw-tite
Verify Fitment
Select your vehicle to confirm this part fits.






Order by 2 PM ET, Monday–Friday, and it ships the same day.
Total for 4 items: $137.05$134.54
Draw-tite
Draw-tite
Draw-tite
Draw-tite

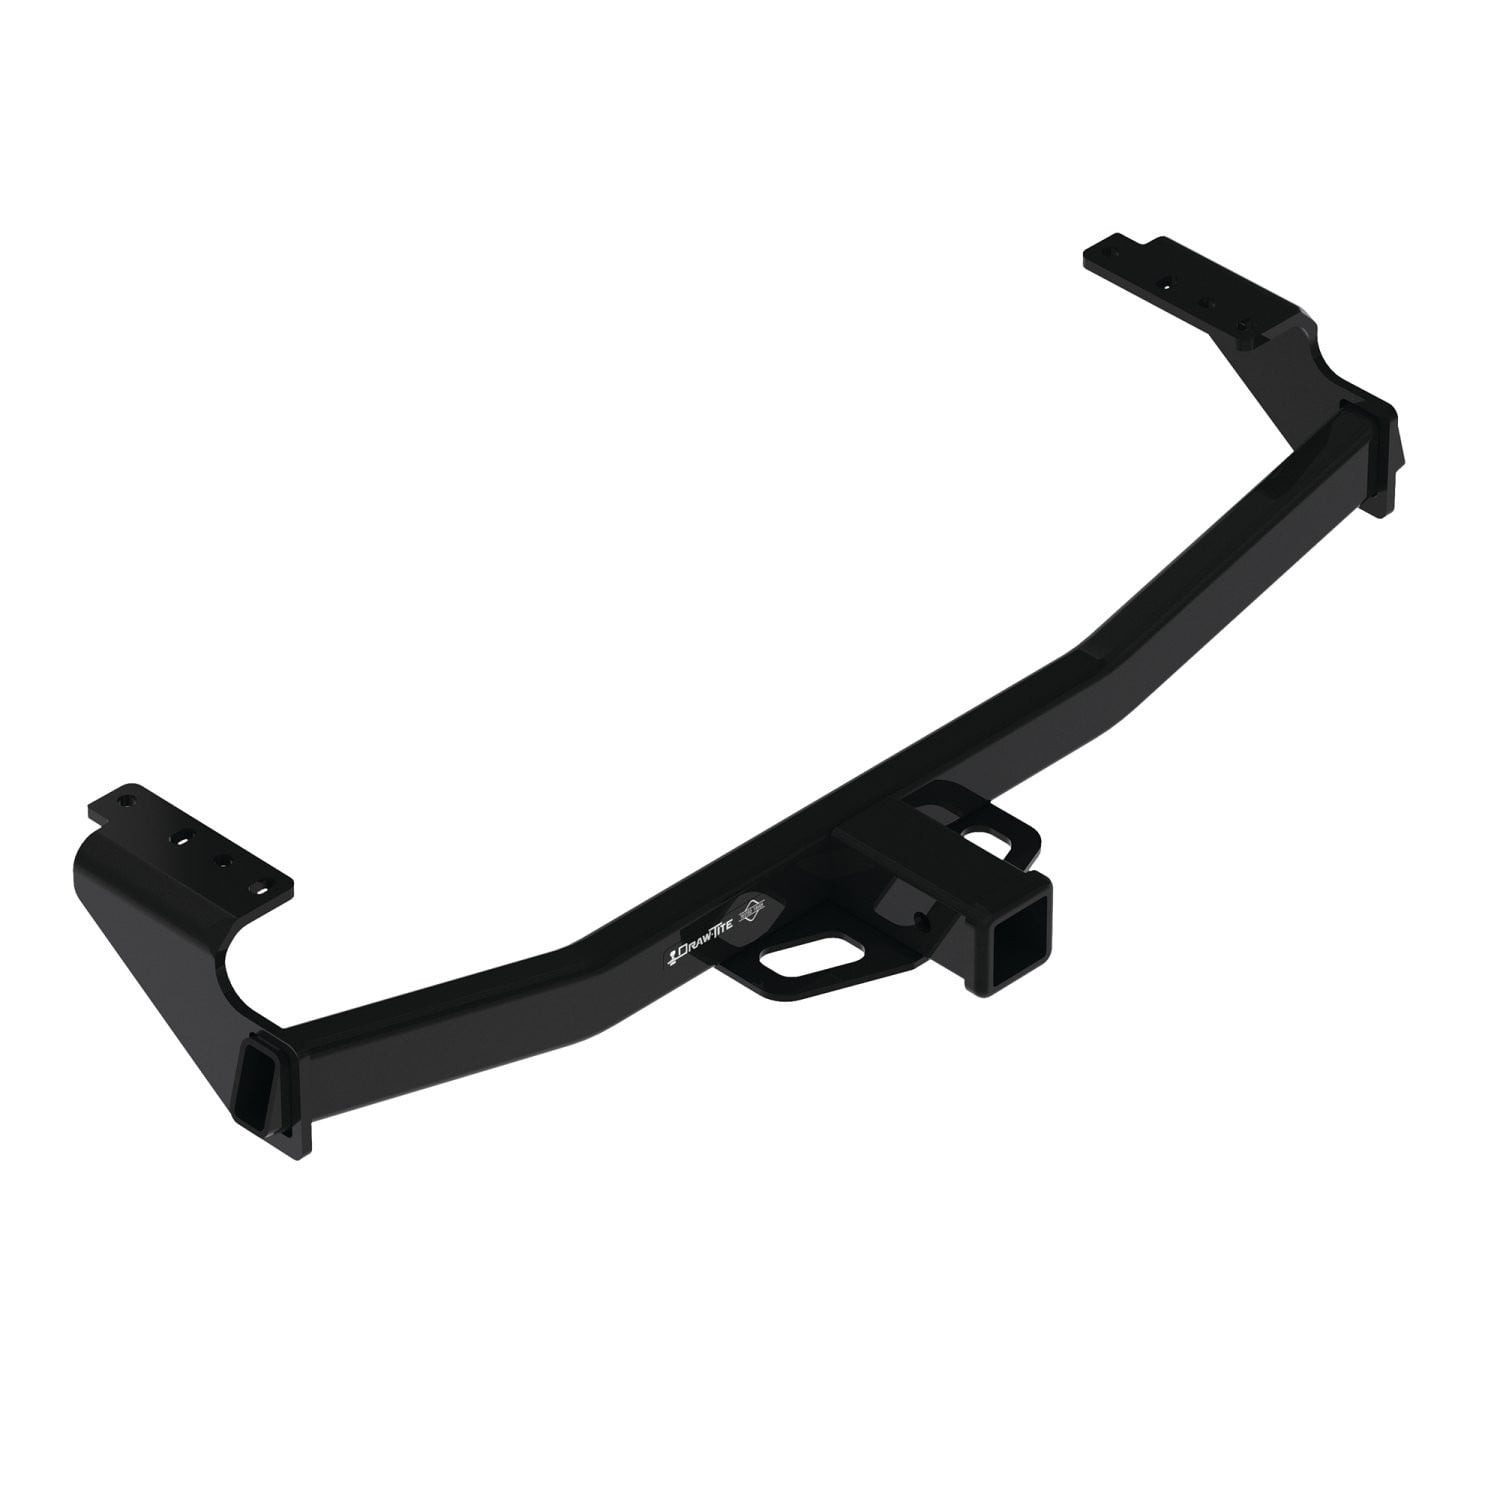
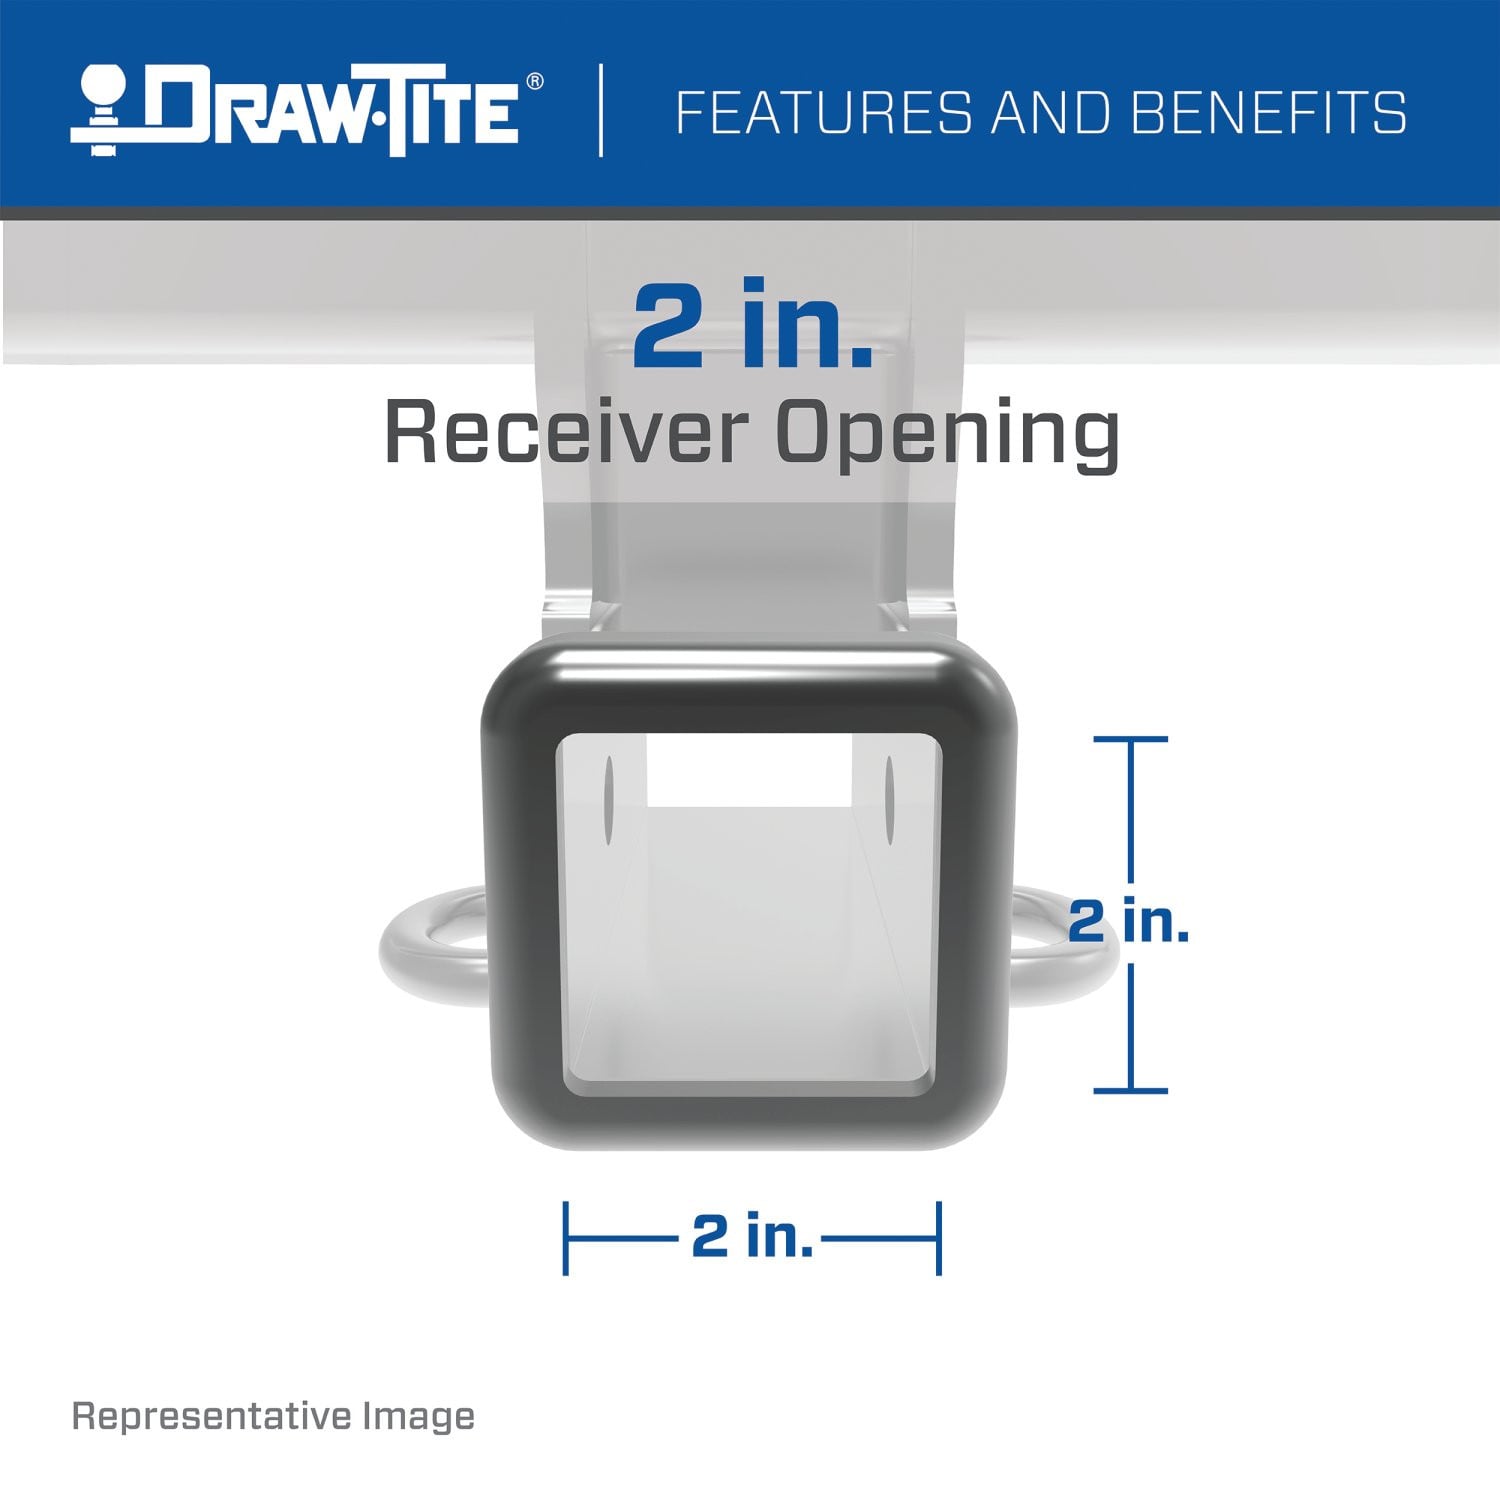
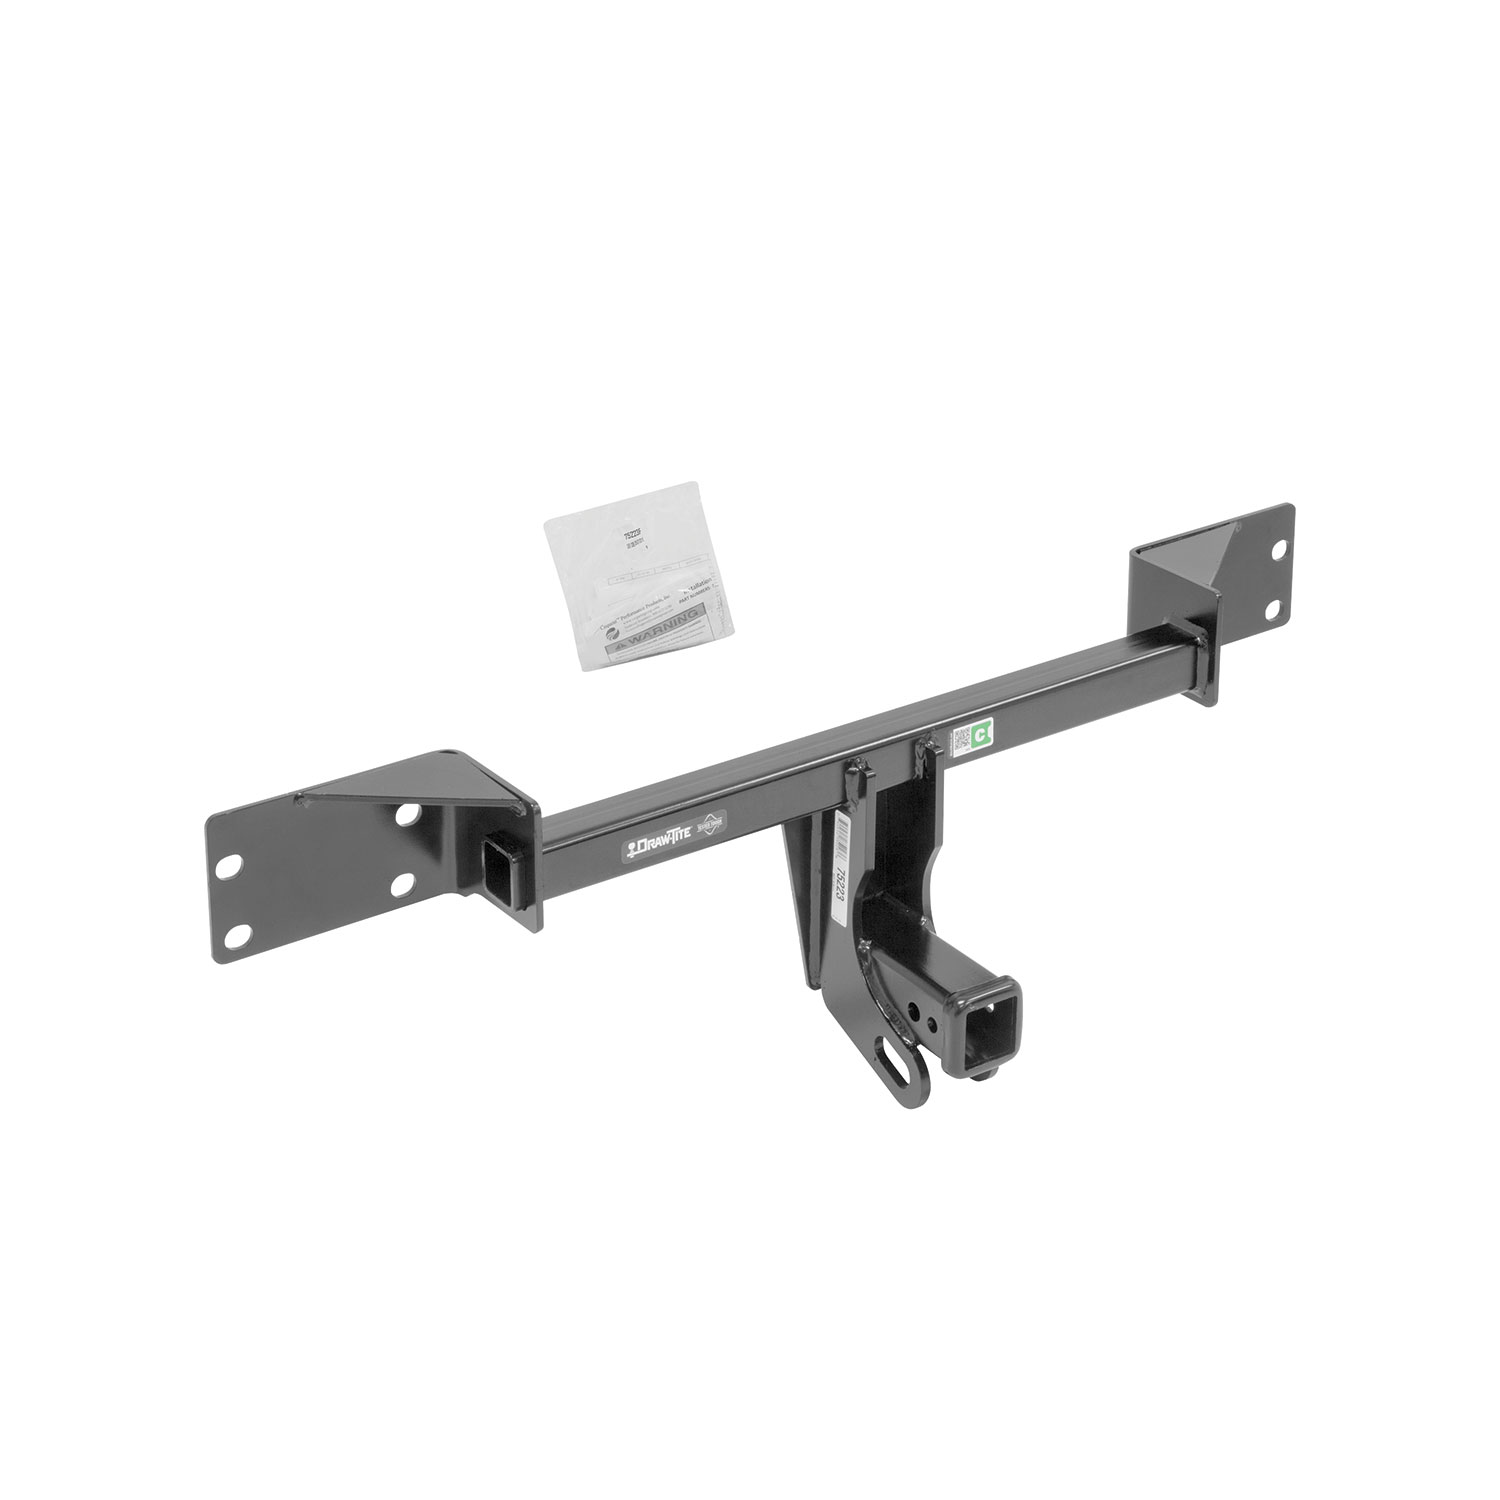
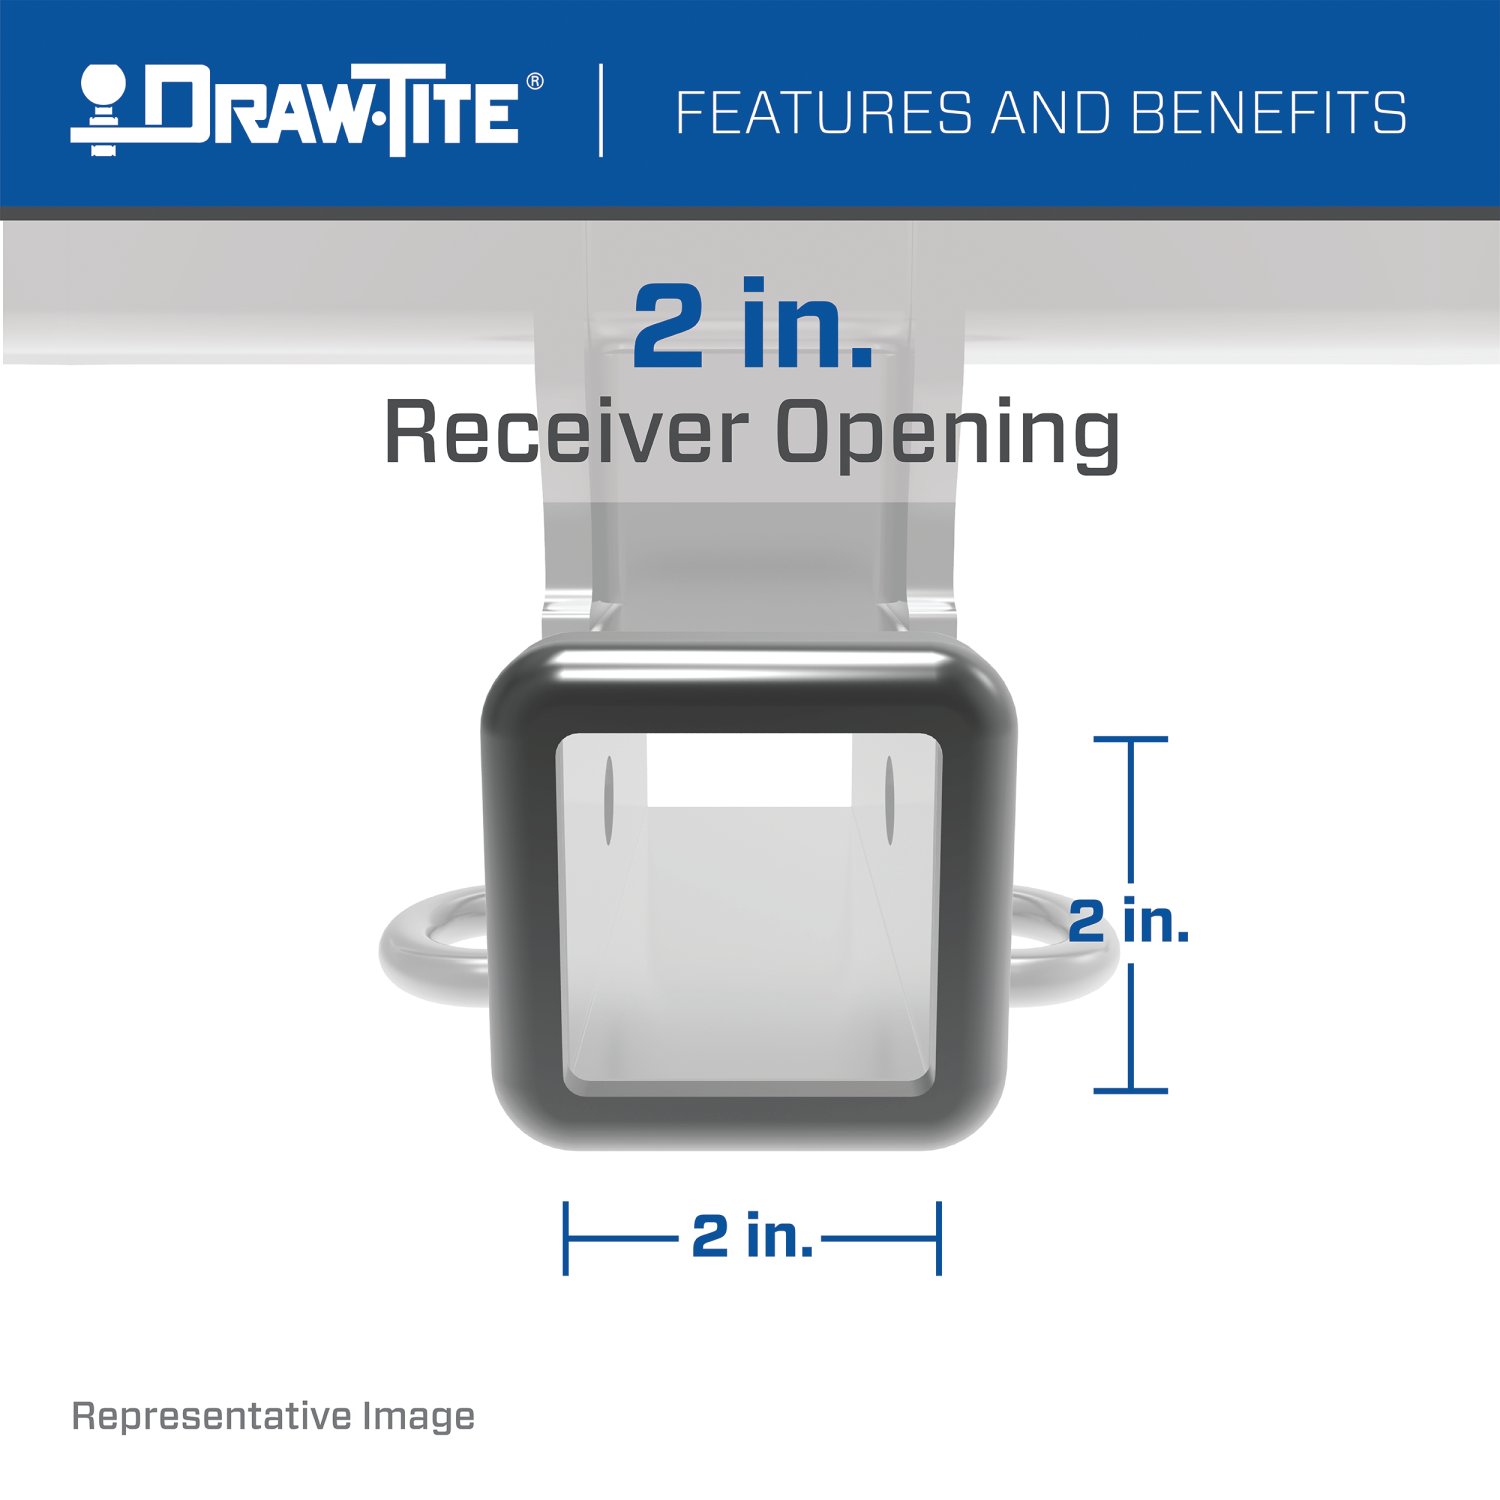
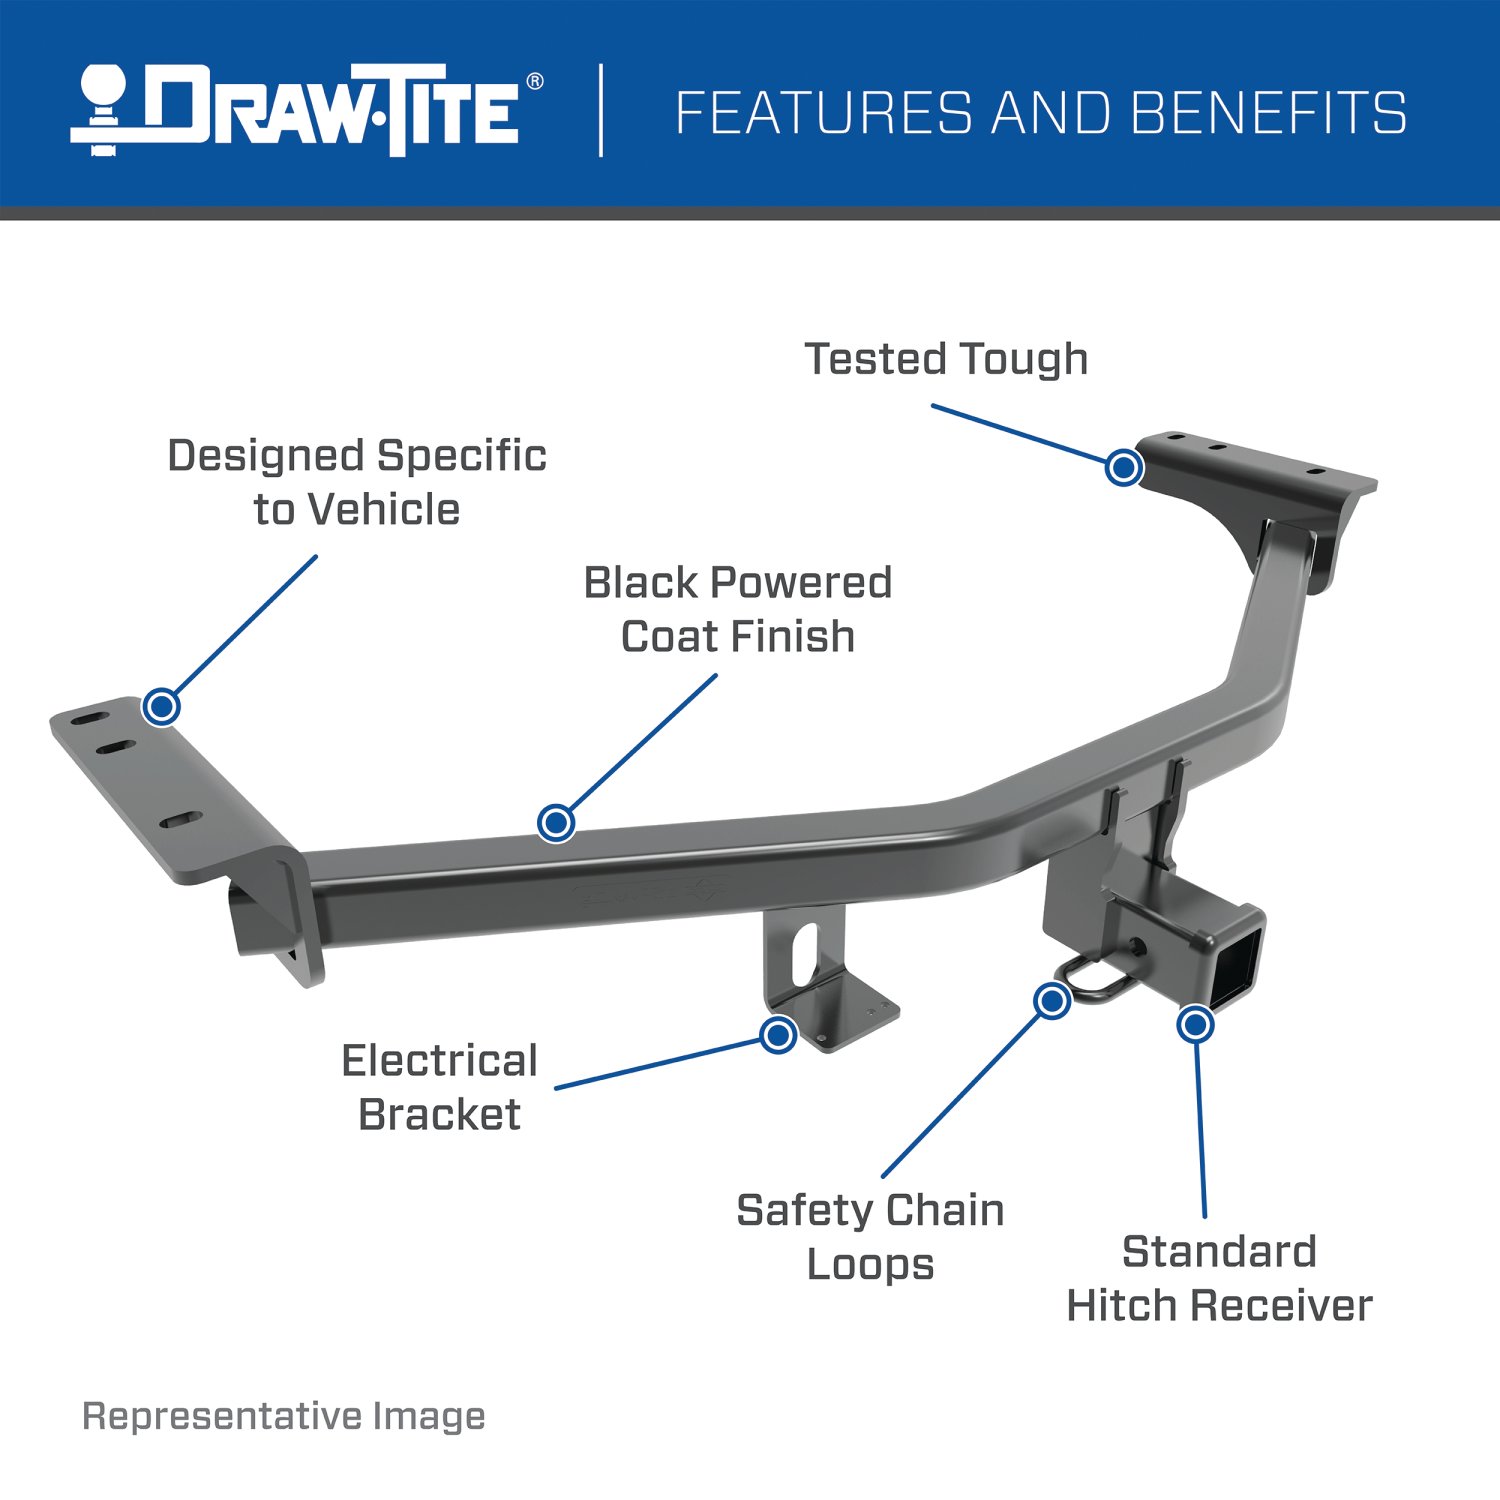
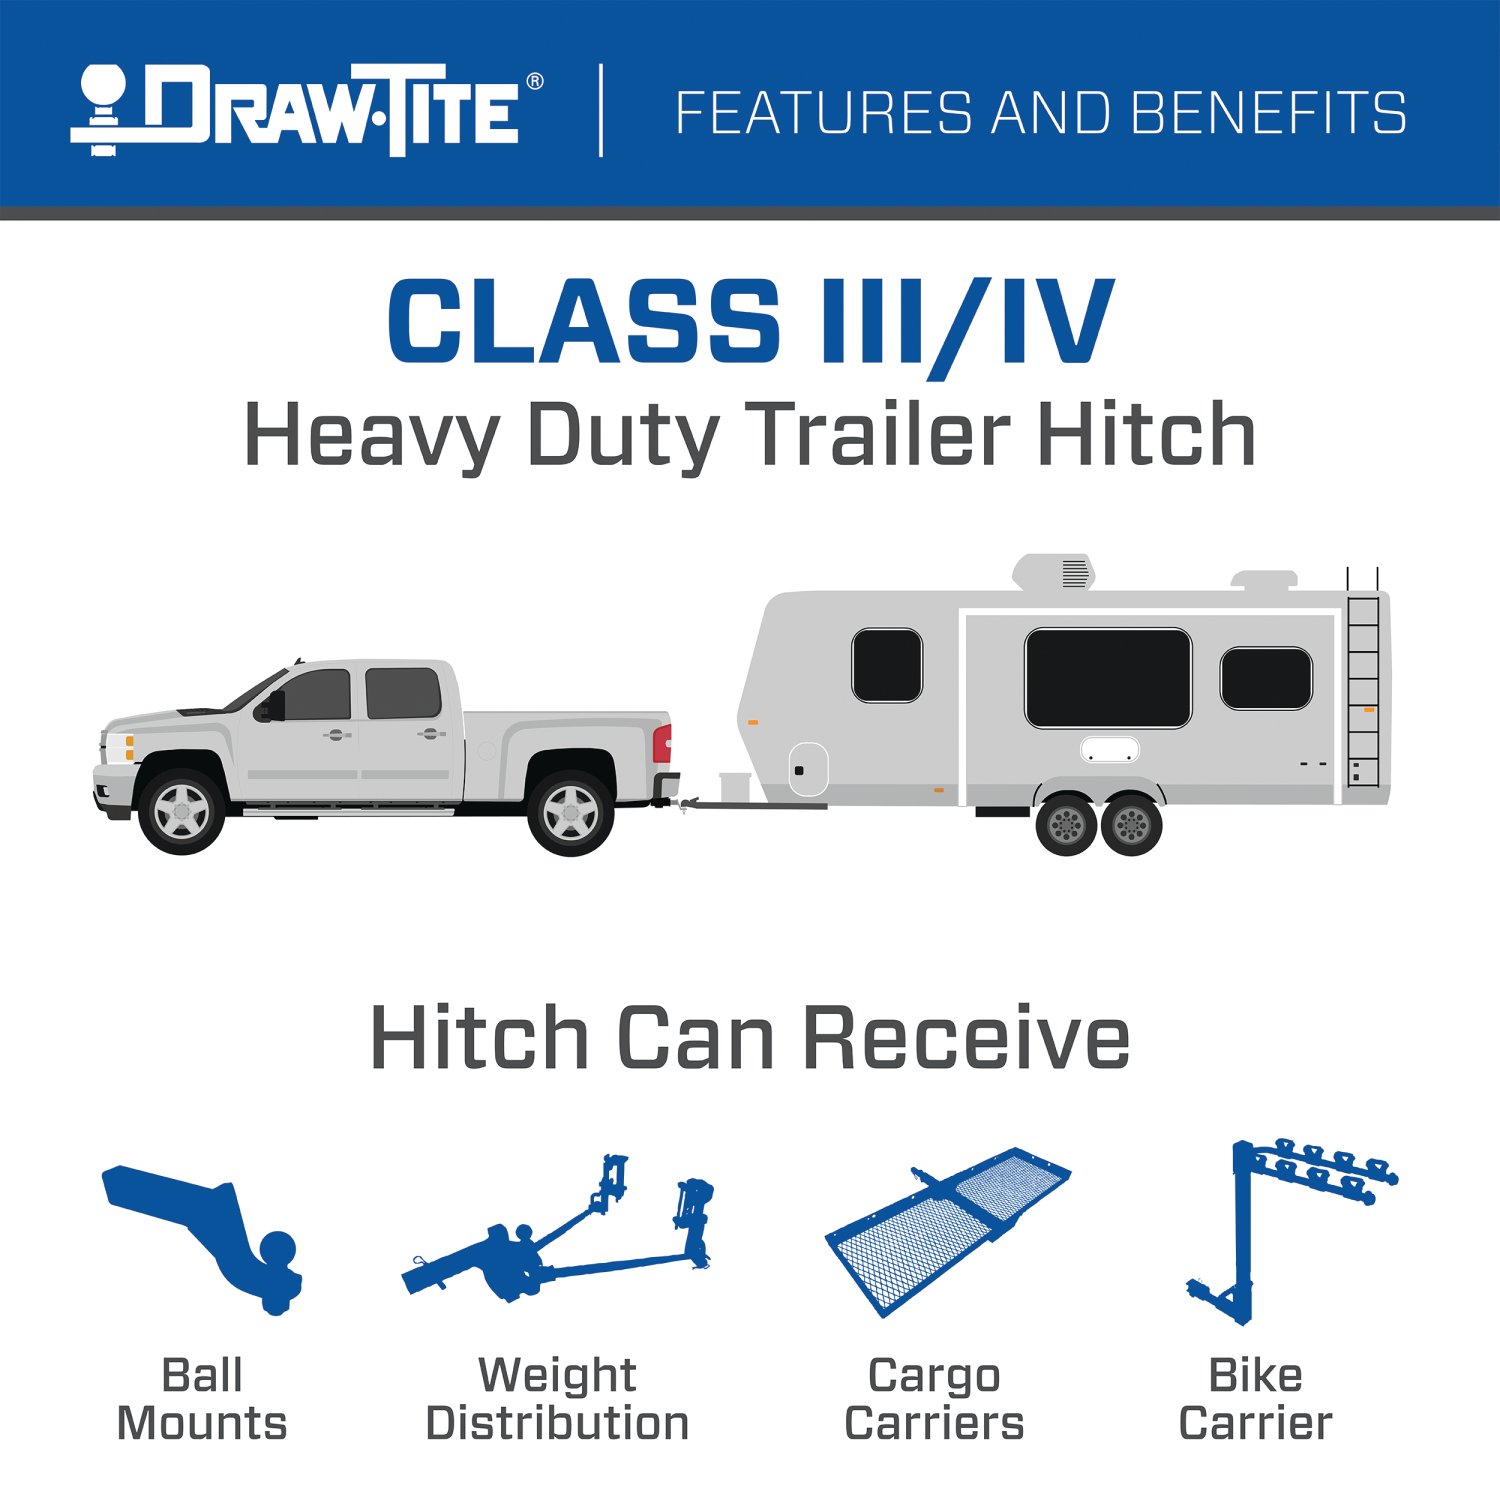
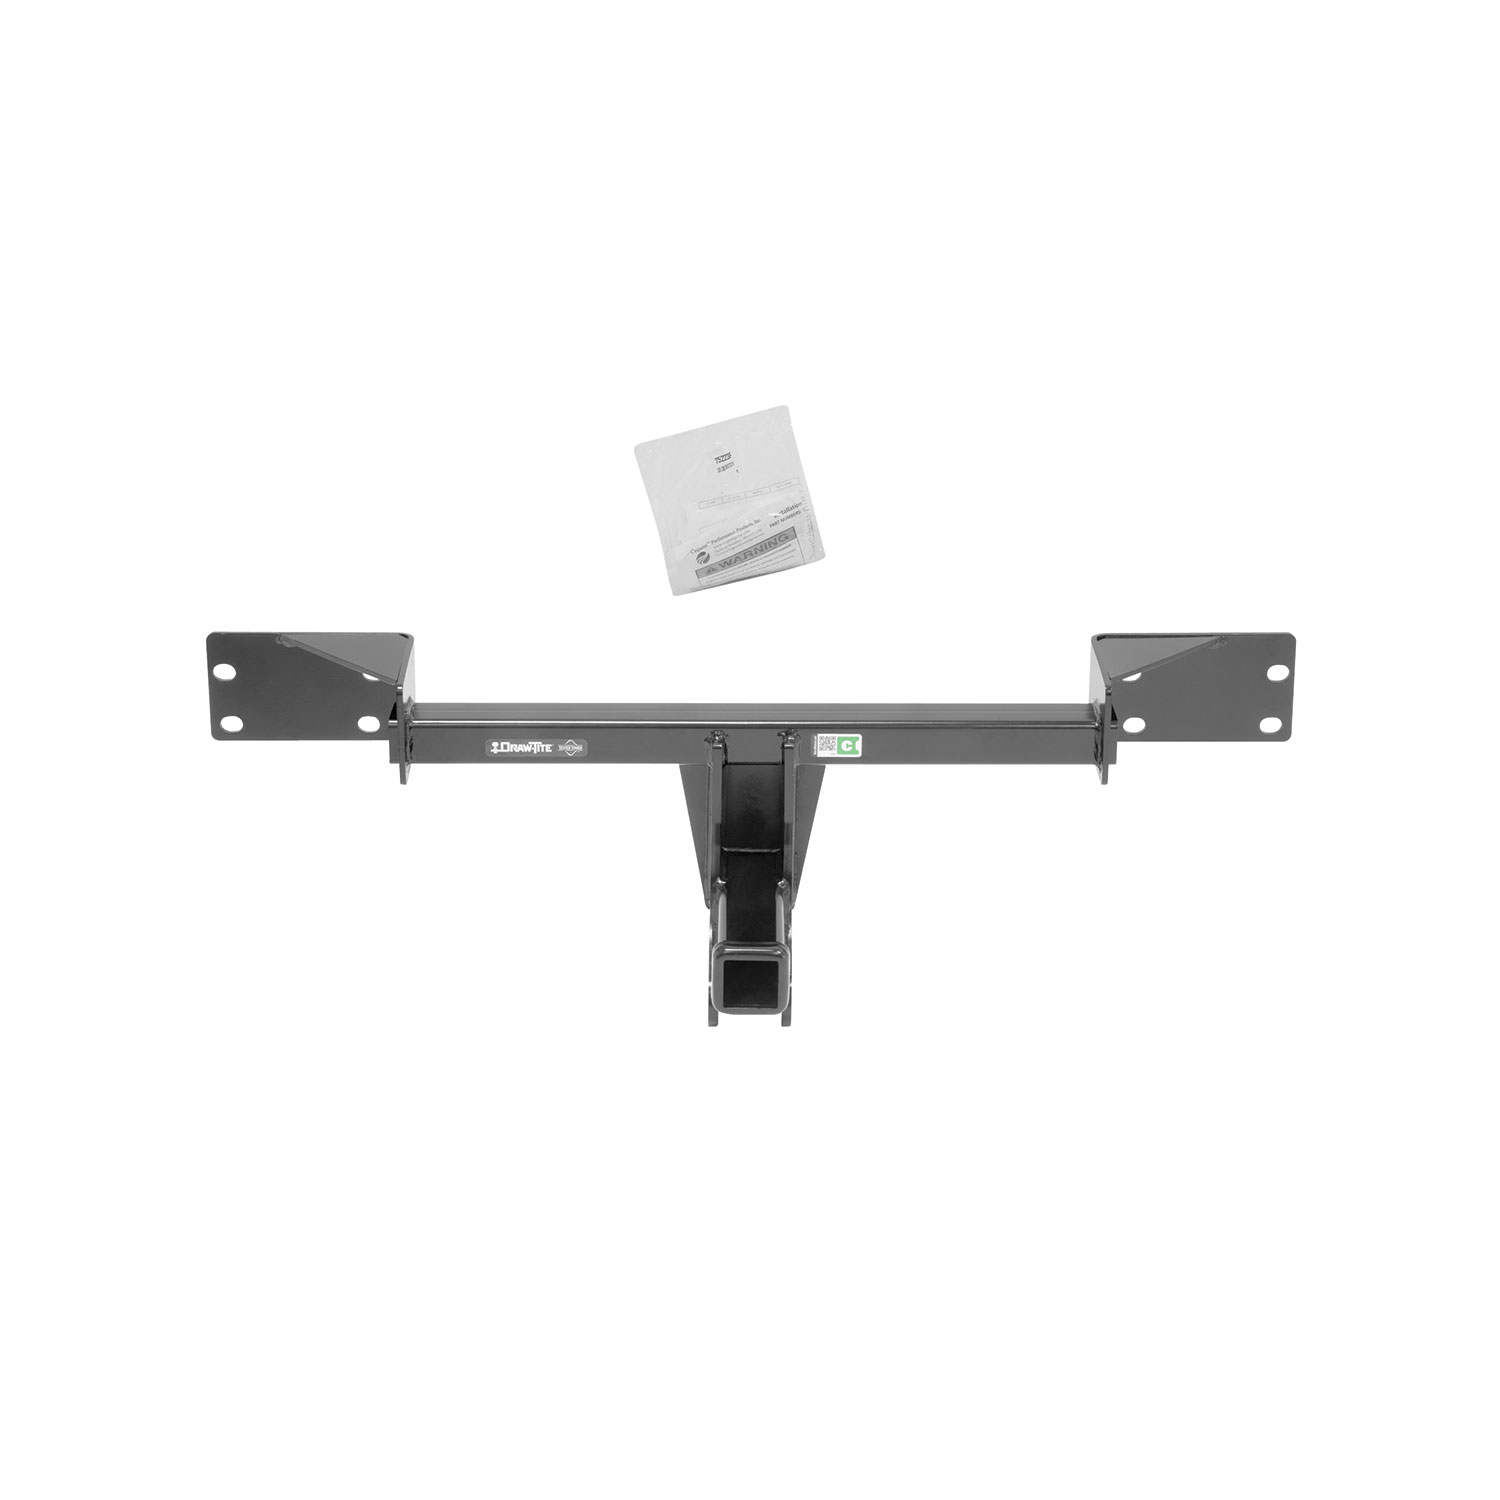
DRAW-TITE Class 3 trailer hitches are the perfect mix of style and stability for those times when youre working on a home project or heading out on an adventure. This DRAW-TITE Class 3 receiver hitch is rated for up to 3,500 lbs. gross trailer weight (GTW) and up to 350 lbs. tongue weight (TW). No weight distribution kits can be used on this specific trailer hitch. DRAW-TITE hitches are designed to provide top towing performance, with solid-all-welded construction and a black powder coat finish to resist rust and corrosion. The Class 3 trailer hitch has a 2 inch square receiver tube opening so you can easily attach accessories like a bike rack or cargo carrier, or a utility trailer. Includes all the mounting hardware needed for installation and are backed by a nationwide lifetime limited warranty. DRAW-TITE trailer hitches are tested to exceed V-5 and SAE J684 standards. DRAW-TITE: North Americas Favorite Hitch.
| BRAND: | DRAW-TITE |
| PART NUMBER: | 75223 |
| WARRANTY: | LIMITED LIFETIME WARRANTY |
| WEIGHT: | 34.6 LBS |
| GROSS TOWING WEIGHT: | 3,500 LBS. |
| GROSS TONGUE WEIGHT: | 350 LBS. |
| RECEIVER SIZE: | 2 IN. |
| HITCH CLASS: | III |
| DRILLING REQUIRED: | NO |
| MOUNTING HARDWARE INCLUDED: | YES |
| ATTACHMENT LOCATION: | REAR |
| HITCH VISIBILITY: | CONCEALED |
| CROSS-TUBE TYPE: | SQUARE TUBE |
| BALL MOUNT INCLUDED: | NO |
| COLOR: | BLACK |
| FINISH: | BLACK POWDER COAT OVER E-COAT |
| MATERIAL: | STEEL |
| MOUNTING LOCATION: | VEHICLE FRAME |
| MOUNTING TYPE: | BOLT-ON |
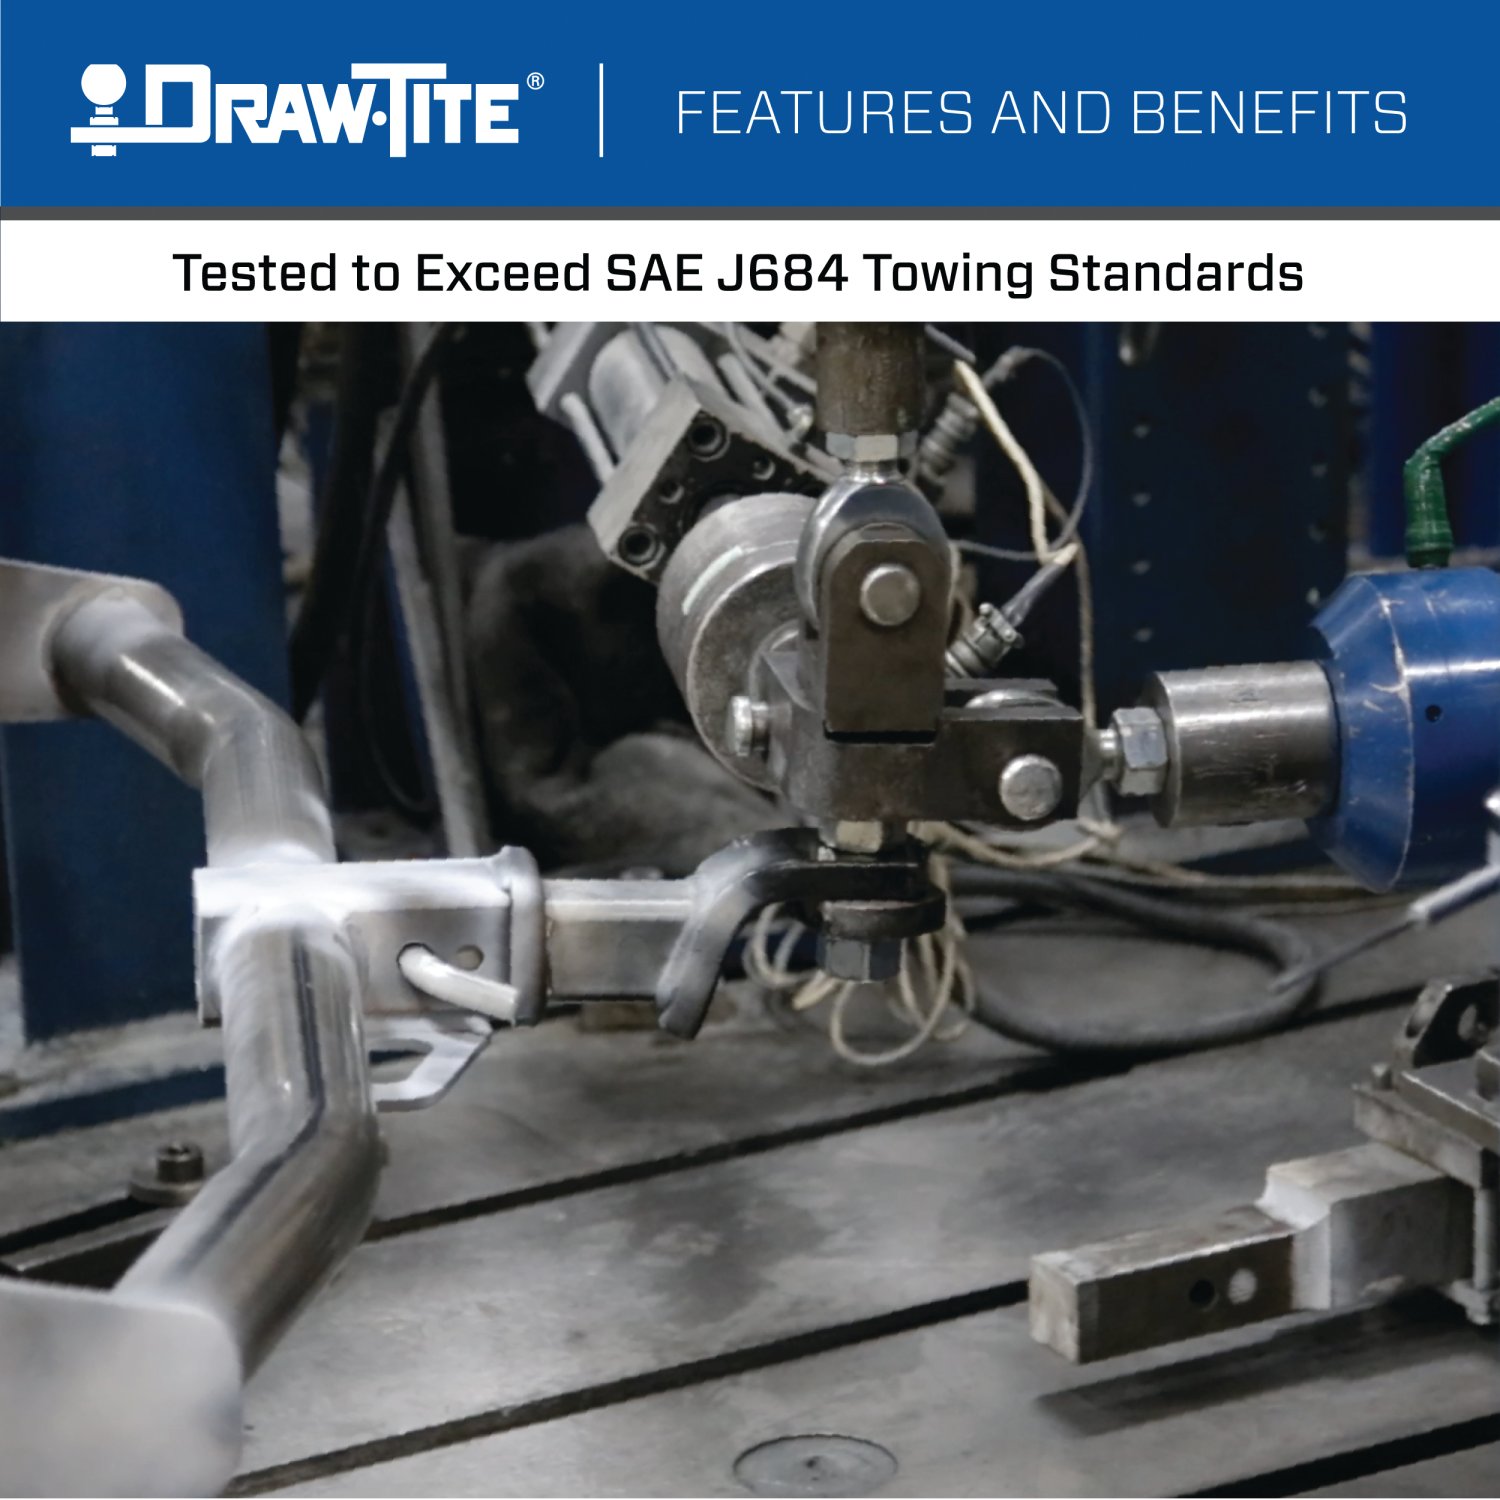

Draw-Tite has designed custom-fit trailer hitches since 1946 and is one of North America's most widely fitted hitch brands. Receiver hitches use solid all-welded construction and low-profile designs that follow modern vehicle contours, install with minimal bumper cutting or drilling, meet or exceed V5 CSA and SAE J684 standards, and carry a limited lifetime warranty.
Draw-Tite has been leading custom-fit trailer hitch design and engineering since its founding in 1946, and it remains one of the most widely fitted hitch brands in North America. The company's stated approach is straightforward: every hitch is tested rigorously so that it performs well beyond published industry standards, a philosophy it markets as Tested Tough. It sits within the Horizon Global towing group alongside Reese, Fulton, Bulldog, Tekonsha, Bargman and Wesbar.
Custom fit is the defining characteristic. Rather than adapting a universal design, Draw-Tite engineers a trailer hitch for a specific make, model and model year, so it bolts to existing frame locations with minimal bumper cutting or drilling. Low-profile designs follow the rear contours and aerodynamic styling of modern vehicles, which matters more than it once did now that rear fascias are shaped and sensor-equipped. Construction is solid all-welded steel for maximum strength, and every hitch meets or exceeds V5 CSA and SAE J684 standards and is backed by a nationwide limited lifetime warranty.
The range spans receiver sizes and classes to suit different loads, from 1-1/4 inch receivers for bike racks, cargo carriers and light trailers up through 2 inch receivers for heavier towing. Front mount hitches add a receiver at the front of the vehicle for winch mounts, snow plows, spare carriers and precise trailer positioning.
The Hidden Hitch series takes concealment further by mounting behind the vehicle's rear fascia, so the vehicle keeps its factory appearance until a removable receiver is fitted. Each is custom designed per make and model for a no-drill installation that does not compromise ground clearance, rated for up to 3,500 pounds gross trailer weight and 350 pounds tongue weight. Matching plug-and-play wiring completes the towing system.
Lifetime
Draw-Tite® Trailer Hitches | Receiver Hitches
2 compatible vehicles
| Year | Make & Model | Notes |
|---|---|---|
| 2017 - 2018 | Infiniti QX30 | Class 3 Trailer Hitch: 3500 lbs 350/3,500 lbs. Weight Carrying (tongue weight/gross trailer weight) Uses all existing holes. No Drilling required Install Time is 90 minutes |
| 2015 - 2024 | Mercedes-Benz GLA250 | Class 3 Trailer Hitch: 3500 lbs 350/3,500 lbs. Weight Carrying (tongue weight/gross trailer weight) Uses all existing holes. No Drilling required Install Time is 90 minutes |
Yes, the Draw-tite Class 3 Trailer Hitch, 2" Square Receiver, Black for Select Infiniti QX30, Mercedes-Benz GLA250 75223 (Part #DT75223) is designed to fit the 2017-2018 Infiniti QX30.
The Draw-tite Class 3 Trailer Hitch, 2" Square Receiver, Black for Select Infiniti QX30, Mercedes-Benz GLA250 75223 (Part #DT75223) fits the following vehicles: 2017-2018 Infiniti QX30; 2015-2024 Mercedes-Benz GLA250. Always verify your specific year, make, and model before ordering.
The Draw-tite Class 3 Trailer Hitch, 2" Square Receiver, Black for Select Infiniti QX30, Mercedes-Benz GLA250 75223 (Part #DT75223) fits 2017-2018 Infiniti QX30 models. The 2024 model year is the last year covered by this part number. For newer models, check for an updated version.
The Draw-tite Class 3 Trailer Hitch, 2" Square Receiver, Black for Select Infiniti QX30, Mercedes-Benz GLA250 75223 (Part #DT75223) Refer to the included instructions for installation details. Basic hand tools are typically all you need.
Yes, part number 75223 is designed for 2015-Current Mercedes GLA 250 models. Visit the Cequent website for the most up-to-date information regarding specific trim levels and application years.
Yes, part number 75223 fits 2017-Current Infiniti QX30 models. However, it does not fit Sport Models. Check the Cequent website for the most current information on trim levels and application years.
No. Part number 75223 explicitly excludes Infiniti QX30 Sport Models.
The 75223 is a weight-carrying hitch with a maximum gross trailer weight of 3500 lb. (1589 kg) and maximum tongue weight of 350 lb. (159 kg). Do not exceed the lower of your towing vehicle manufacturer's rating or these limits.
Maximum tongue weight is 350 lb. (159 kg). Do not exceed the lower of your vehicle manufacturer's rating or this limit.
Required tools include: ratchet, torque wrench, safety glasses, sockets (8 mm, 10 mm, 16 mm), star drivers (T30, T40), flat-head screwdriver, 6-inch socket extension, tin snips, plastic trim tools, silicone sealant, hack saw, and a 10 mm 12-point socket or E12 socket. A marker is also recommended.
Yes. A torque wrench is required to tighten all bumper beam fasteners to the specification of 38 Lb.-Ft. (52 N·M).
The average installation time for professional installers is 90 minutes. If you do not feel comfortable performing this installation on your own or need assistance, contact a professional installer.
Professional installation is recommended but not mandatory. The manual states: 'If you do not feel comfortable performing this installation on your own or are in need of assistance, please contact a professional installer.' The average installation time for professionals is 90 minutes.
Yes. The bumper beam must be removed to install the hitch. For Mercedes models, use a 16 mm socket to remove 4 flange nuts from inside the bumper panel on each side, then unclip the wiring on the passenger side. For Infiniti QX30, use a 16 mm socket to remove 4 flange nuts from the forward side of the end panel on both sides, then unclip the wiring near the passenger side.
For Mercedes GLA 250: (1) Remove exhaust tips using T40 driver; (2) Remove taillights; (3) Loosen heat shield using 8 mm socket; (4) Remove bumper fascia using 10 mm socket and flat screwdriver; (5) Remove bumper beam using 16 mm socket. For Infiniti QX30: (1) Remove exhaust tips using T30 driver; (2) Lower exhaust using 10 mm 12-point or E12 socket; (3) Remove heat shield using 8 mm socket; (4) Remove taillights; (5) Remove fascia; (6) Remove bumper beam using 16 mm socket; (7) Trim plastic bumper panels using hack saw.
Use a T40 torx driver to remove 2 bolts from the bottom of the exhaust tips on each side. Then use a 10 mm socket to remove 1 bolt on each side that secures the exhaust hanger bracket, and lower the muffler.
Using a T30 torx driver, remove 2 screws from the bottom of the exhaust tips on each side.
Using a 10 mm 12-point socket or E12 socket, remove 1 bolt from each exhaust hanger bracket and lower the exhaust. Important: Support the exhaust before removing the hanger bolts.
Remove 1 plastic wing nut inside the trunk on each side, then unplug the wiring.
Open the trunk and remove access panels inside. Disconnect the taillight wiring. Using a small trim panel tool, carefully pry the plastic covers near the taillights to uncover the mounting screws. Using a 10 mm socket, remove 2 screws holding each taillight. Using a plastic trim panel tool, carefully pry and pull the taillight outward away from the vehicle.
Using an 8 mm socket, remove 6 flange nuts that secure the heat shield and rest the heat shield on the muffler. Do not remove the heat shield from the vehicle.
Using an 8 mm socket, remove 6 flange nuts from the heat shield. Remove the heat shield and set it aside.
Using a 10 mm socket and flat screwdriver, remove 2 plastic rivets and 2 bolts at the rear fascia bottom on each side, and 1 plastic rivet and 1 bolt at the rear wheel well trim panel on each side. Gently pull off the rear wheel well trim panel on each side by unclipping the tabs inside. Gently remove the fascia by pressing the vertical tabs along the inside top section of the fascia and unplugging the wiring on each side. Set the bumper fascia aside.
Using a flat screwdriver, remove 6 push pin rivets from the top area of the fascia near taillights (3 per side). Using a 10 mm socket and flat screwdriver, remove 1 bolt and 3 push pin rivets from the bottom outer area of the fascia on both sides. Remove 6 push pin rivets along the bottom edge of the fascia and 2 bolts from the bottom center fascia supports. Remove 1 push pin rivet and 1 plastic hex nut from the wheel well liner on both sides. Using a 10 mm socket, remove 1 screw located vertically in the upper area of the fascia behind the wheel well liner on both sides. Gently remove the rear part of the wheel well trim by unclipping the tabs inside and pulling on the trim. Using a plastic trim panel tool, remove the fascia starting at the outer edges near the wheel wells, gently pulling the fascia. Disconnect the wiring and set the fascia aside.
No drilling is required. The hitch aligns with existing welded bolts on the bumper beam and uses original bumper mounting holes. However, trimming of the heat shield and plastic bumper panels (Infiniti only) is required.
Yes. For both Mercedes and Infiniti models, locate the center of the heat shield and trim a 2 inches tall by 4.5 inches wide area. Make additional trimming if needed.
Locate the center of the heat shield and trim an area 2 inches tall and 4.5 inches wide. Make additional trimming if needed.
No. Plastic bumper panel trimming is required only for Infiniti QX30 models, not for Mercedes GLA 250.
Using a hack saw, trim the plastic panels attached to the bottom of the bumper beam as shown in Figure 7. The trim area is 1-1/2 inches tall and 4-1/2 inches wide on each side.
Use a hack saw to trim the plastic panels attached to the bottom of the bumper beam.
Apply silicone sealant around the square opening on the end panel near mounting holes on both sides. Align all holes on the hitch bracket with the welded bolts (studs) on the bumper beam. Raise the hitch and bumper beam together, reconnect any wiring harness to the bumper beam, and place them through the original bumper mounting holes. Loosely reinstall the 8 hex flange nuts onto the bumper studs (4 per side).
Yes. Use silicone sealant to seal around the opening on the end panel on each side before installing the hitch.
No. After placing the hitch and bumper beam through the original mounting holes, loosely fasten the nuts first. Tighten all bumper beam fasteners with a torque wrench to 38 Lb.-Ft. (52 N·M) only after the hitch is properly aligned.
Tighten all bumper beam fasteners with a torque wrench to 38 Lb.-Ft. (52 N·M).
After tightening all bumper beam fasteners to 38 Lb.-Ft. (52 N·M), reinstall the heat shield, fascia, exhaust, and taillights using the original hardware removed during disassembly. For Mercedes Sport Models, make slight trimming on the rear fascia bottom if necessary. For Infiniti QX30, reinstall the plastic covers near taillights and access panels inside the trunk.
Yes. For Mercedes Sport Models, make slight trimming on the rear fascia bottom if necessary after hitch installation.
The manual states that the 75223 hitch does not fit Infiniti QX30 Sport Models, so this question does not apply.
Check the hitch frequently to ensure all fasteners and the ball are properly tightened. Proper torque is needed to keep the hitch secure to the vehicle when towing.
Check the hitch frequently, making sure all fasteners and the ball are properly tightened.
If the hitch is removed, plug all holes in the trunk pan or other body panels to prevent entry of water and exhaust fumes.
A hitch or ball which has been damaged should be removed and replaced.
The maximum gross trailer weight is 3500 lb. (1589 kg). Do not exceed the lower of your towing vehicle manufacturer's rating or this limit.
Load the trailer heavier in front. This helps maintain proper weight distribution and towing stability.
If excess sway occurs, take your foot off the gas pedal and hold the steering wheel as steady as possible. Do not apply your brakes and do not speed up.
Always wear safety glasses when installing the hitch. Observe safety precautions when working beneath a vehicle and wear eye protection. Do not cut access or attachment holes with a torch.
No. Do not cut, weld, or modify this receiver.
No. Do not cut access or attachment holes with a torch.
Slow down when towing and never exceed any posted speed limit.
Yes. Always wear your seatbelt.
Check the hitch frequently to ensure all fasteners remain tight. If fasteners have loosened, retighten them with a torque wrench to 38 Lb.-Ft. (52 N·M). Proper torque is essential to keep the hitch secure to the vehicle when towing.
A hitch or ball which has been damaged should be removed and replaced. Do not attempt to repair a damaged hitch.
Jennifer
The staff was able to quickly assist me with locating the correct product I needed. Shipping was really fast. Item arrived in 2 days. Will be using TowUniverse again!!
May 22, 2023