Loading...
Loading...
Loading...
Loading...

Draw-tite
Verify Fitment
Select your vehicle to confirm this part fits.
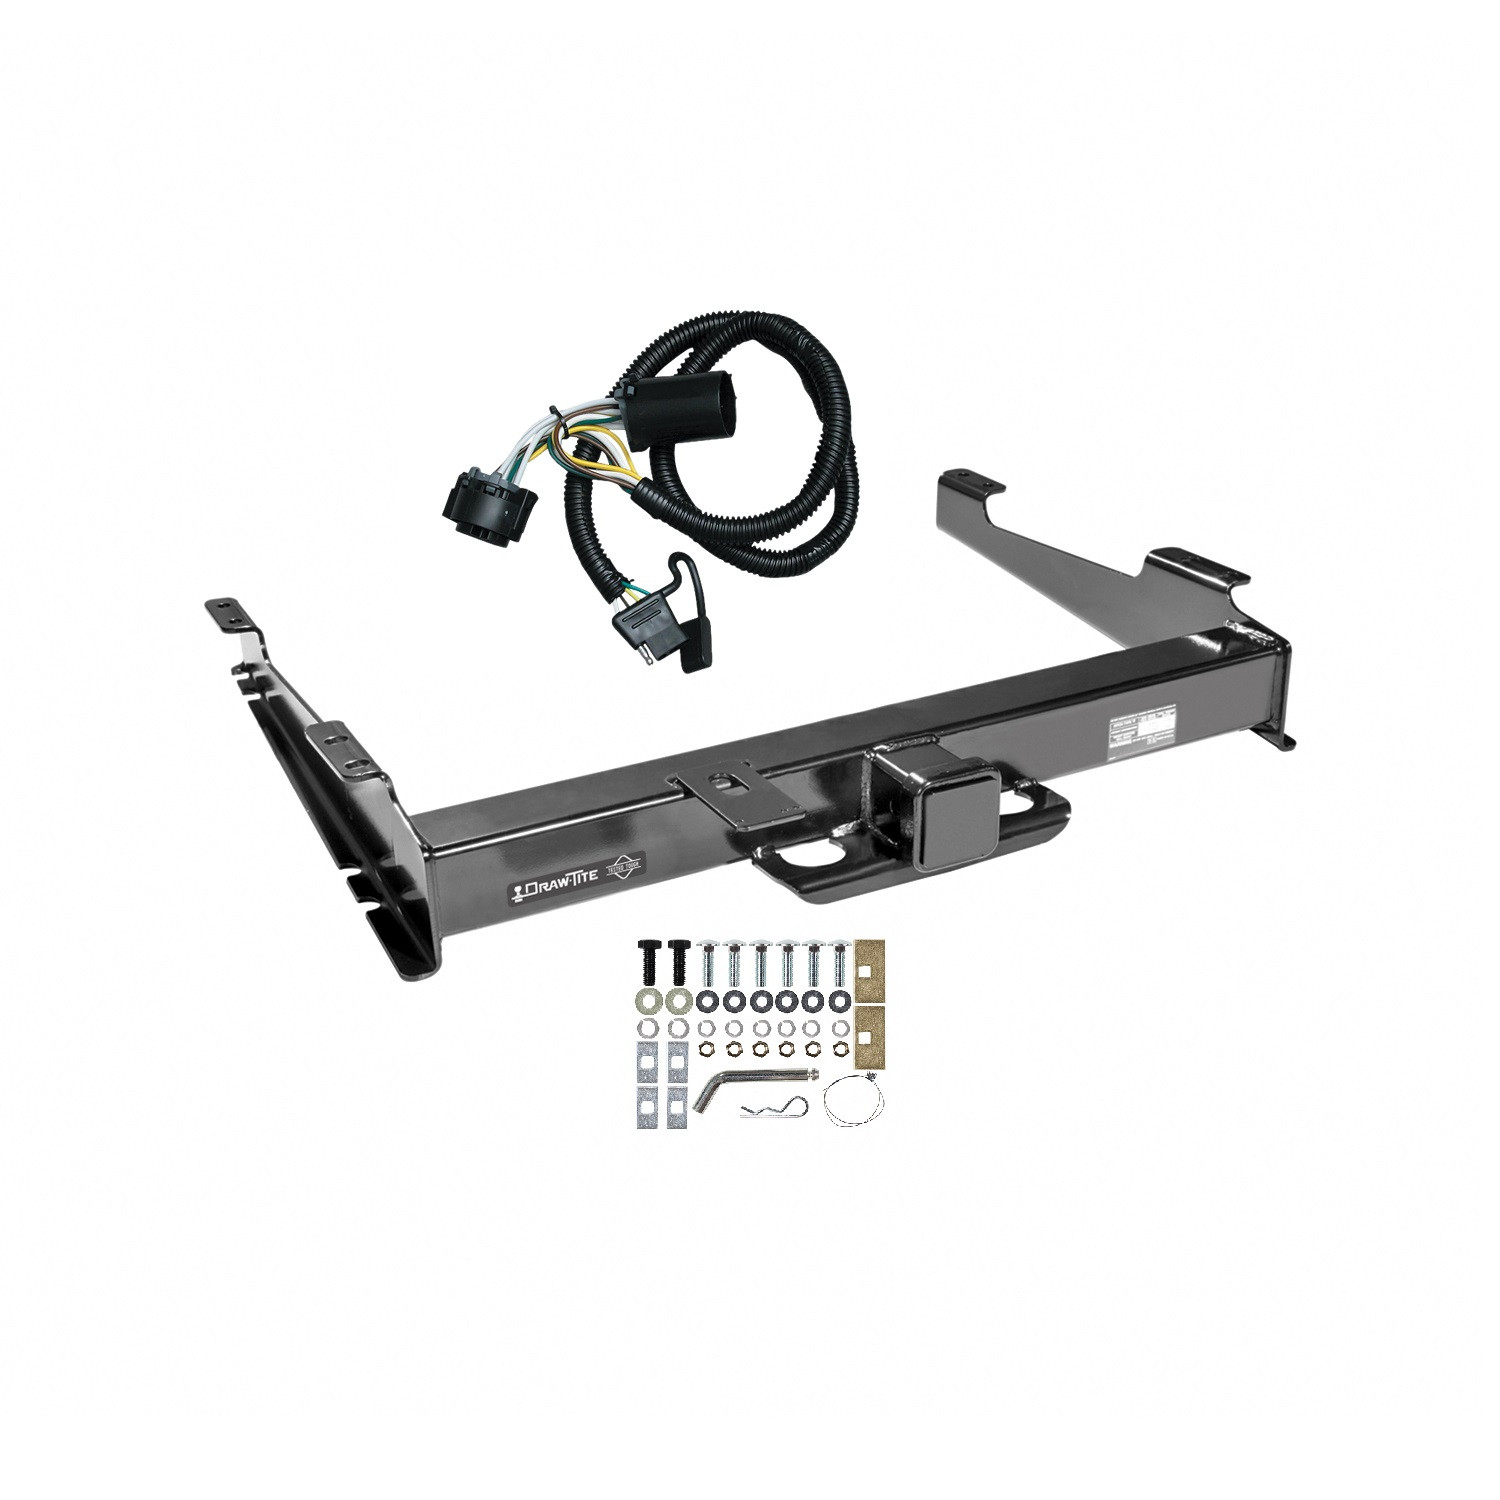
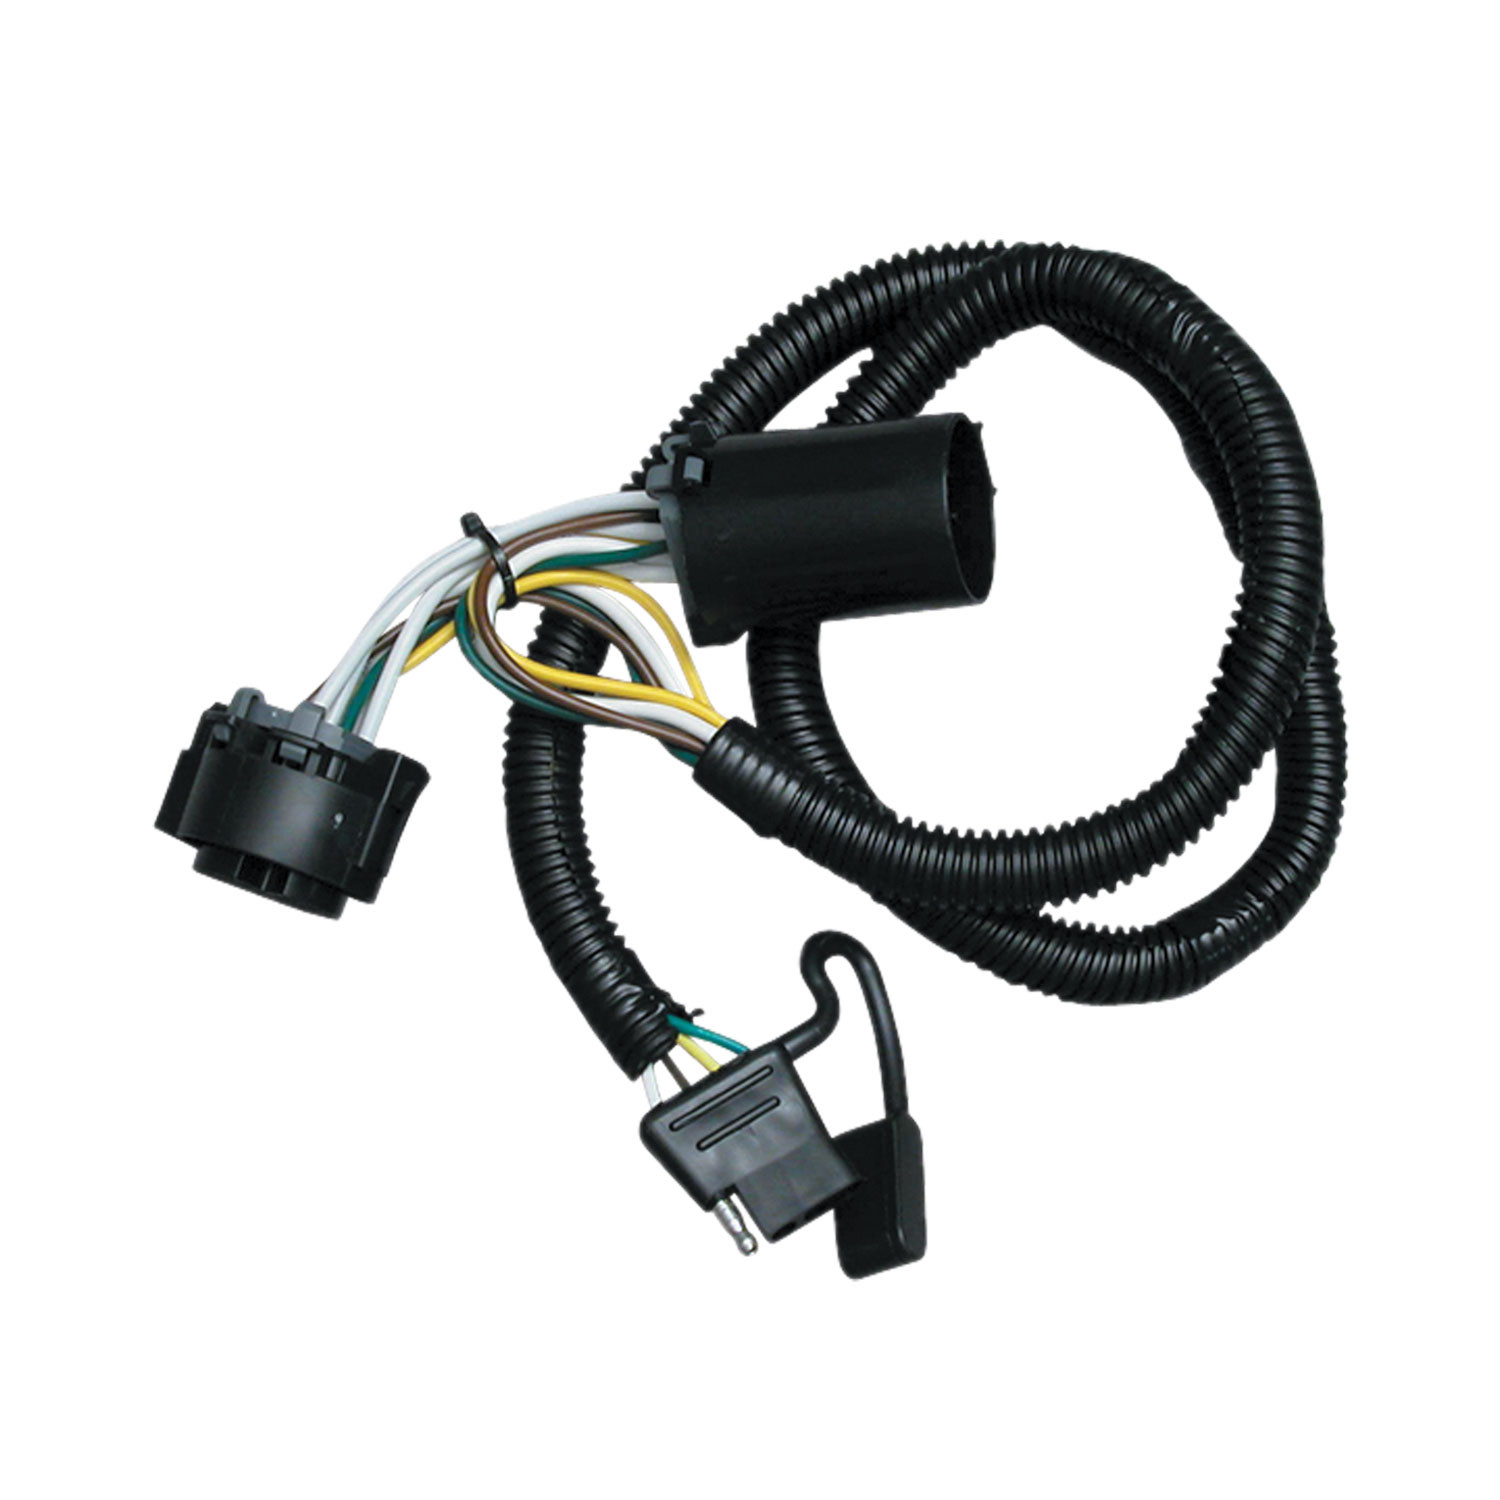
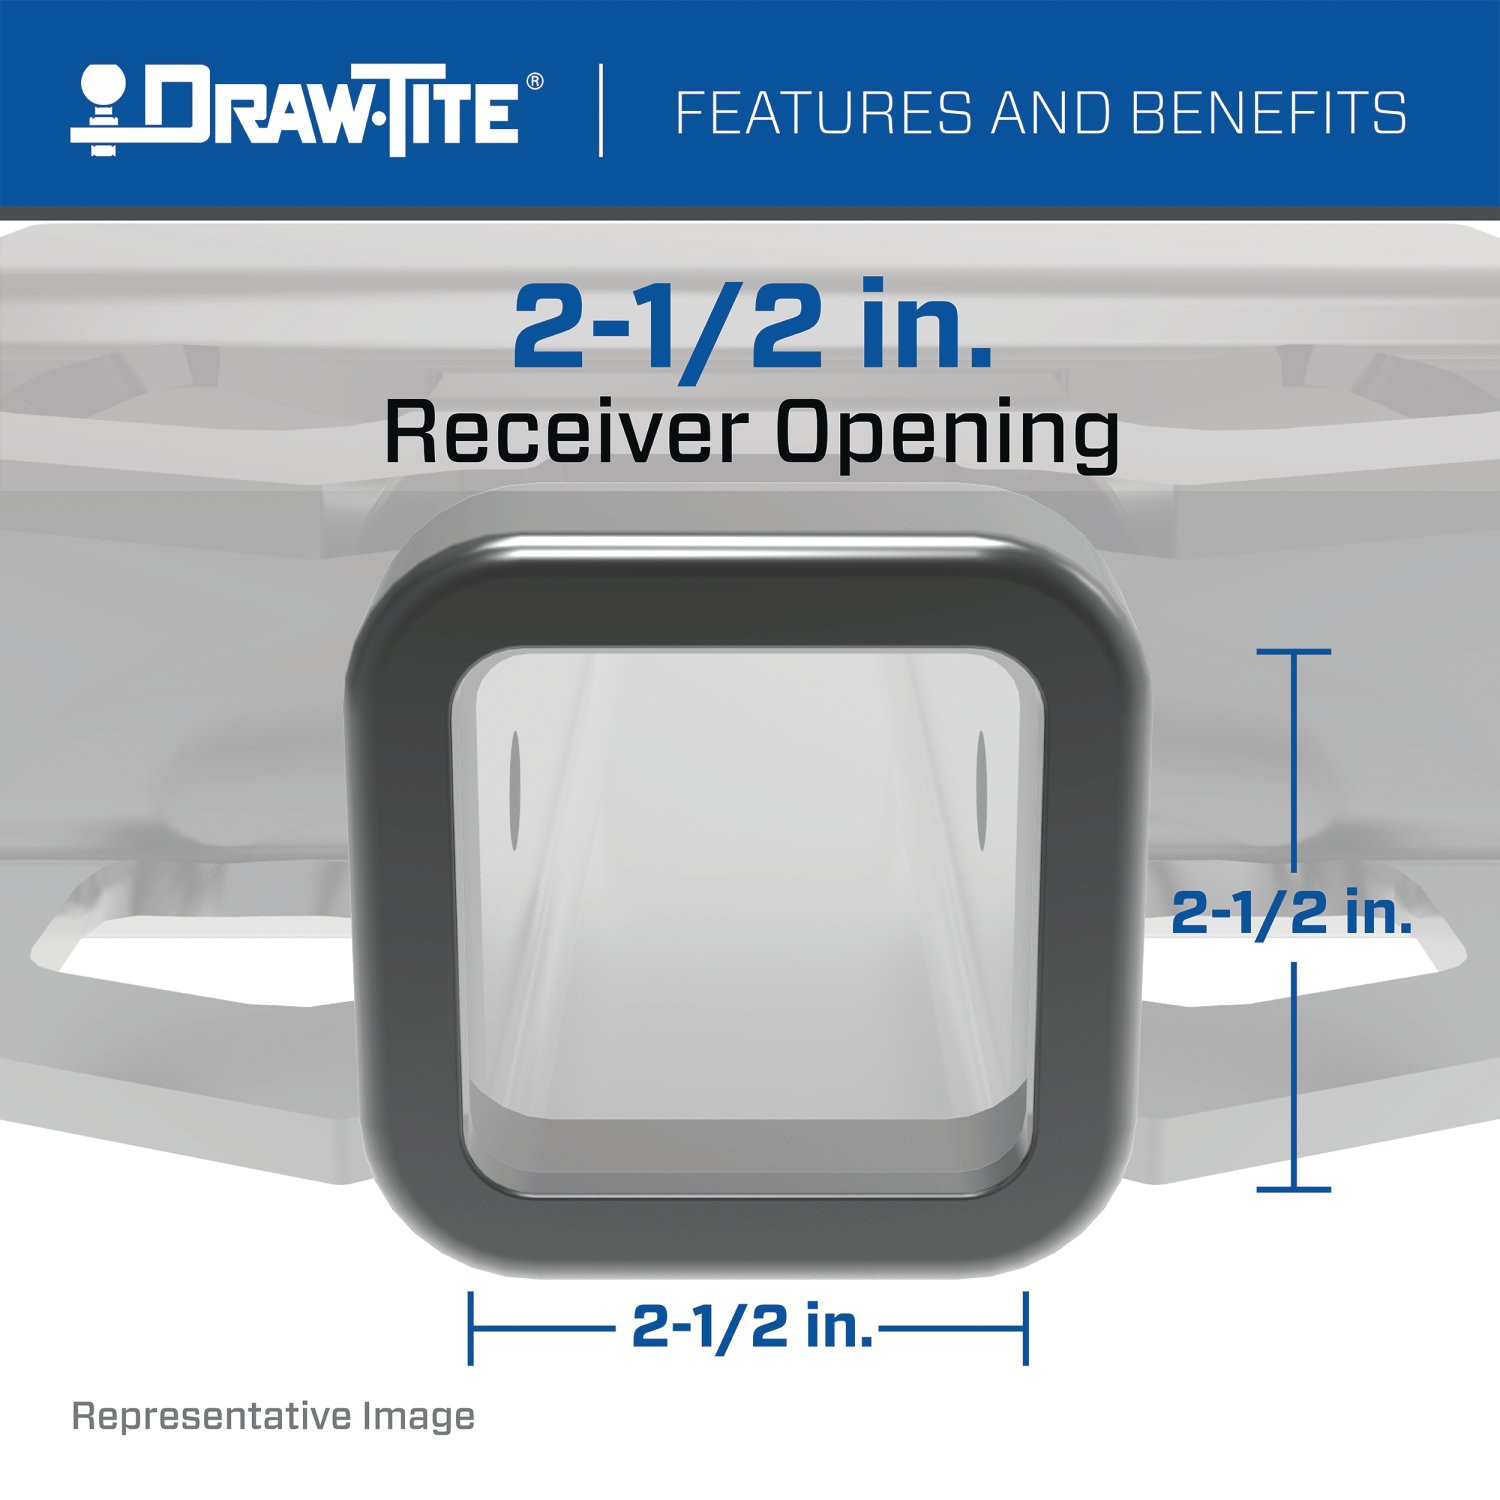
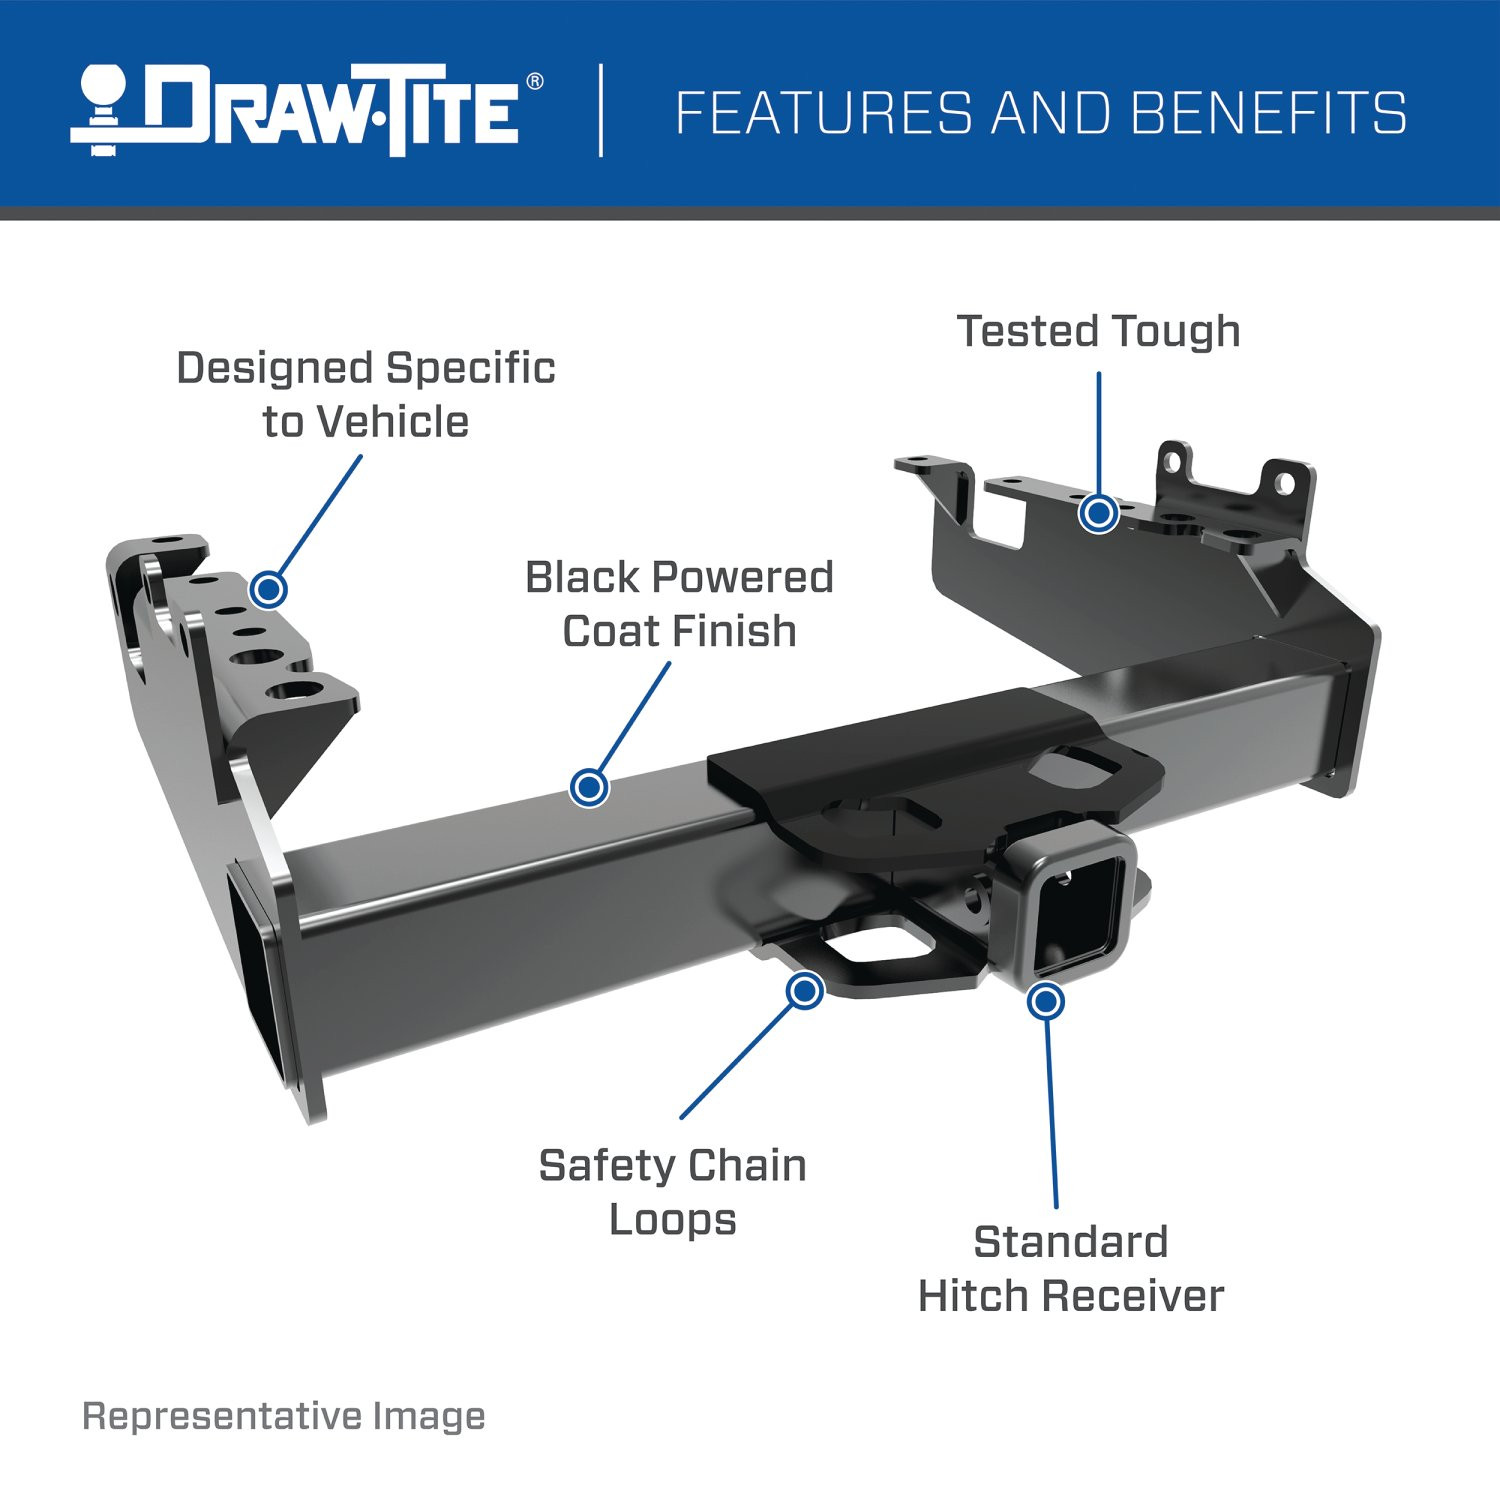
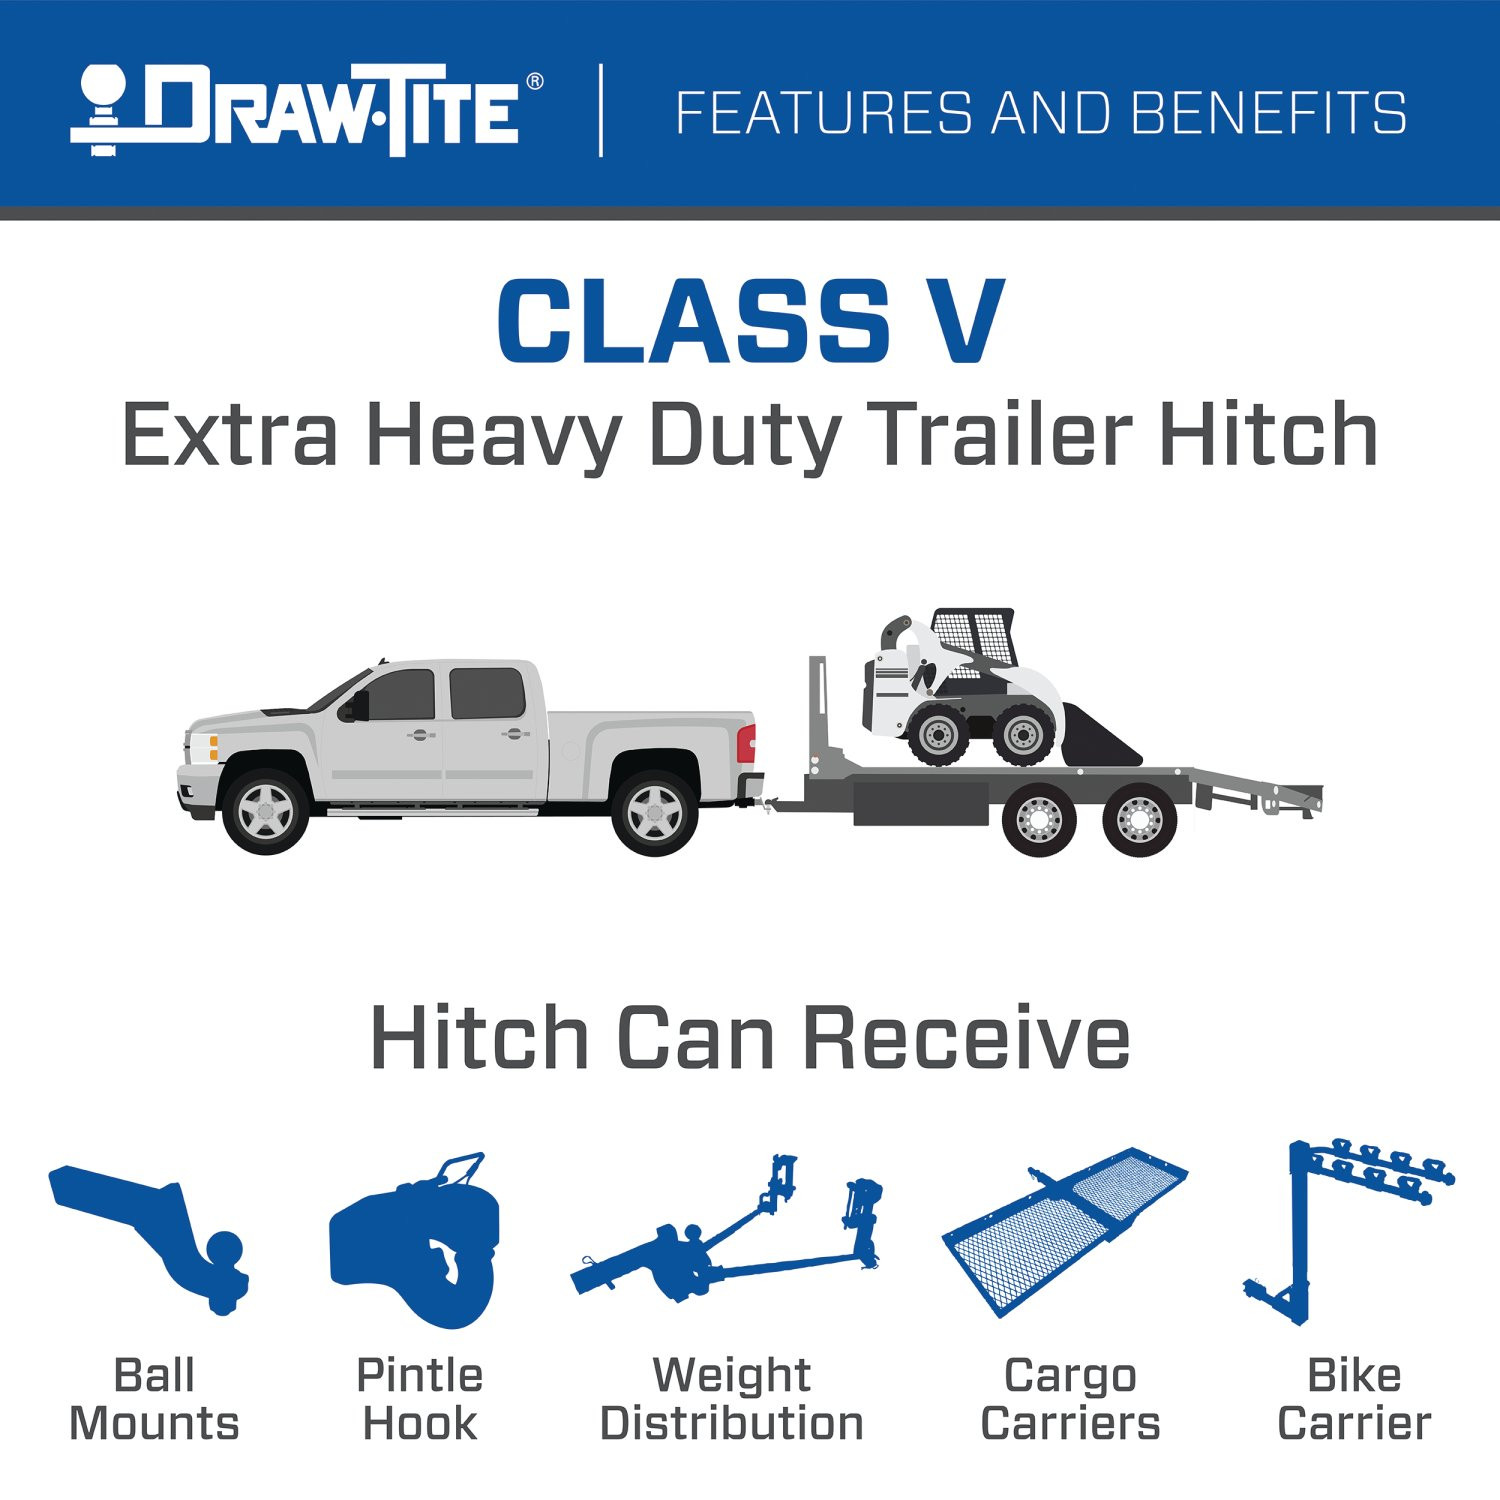
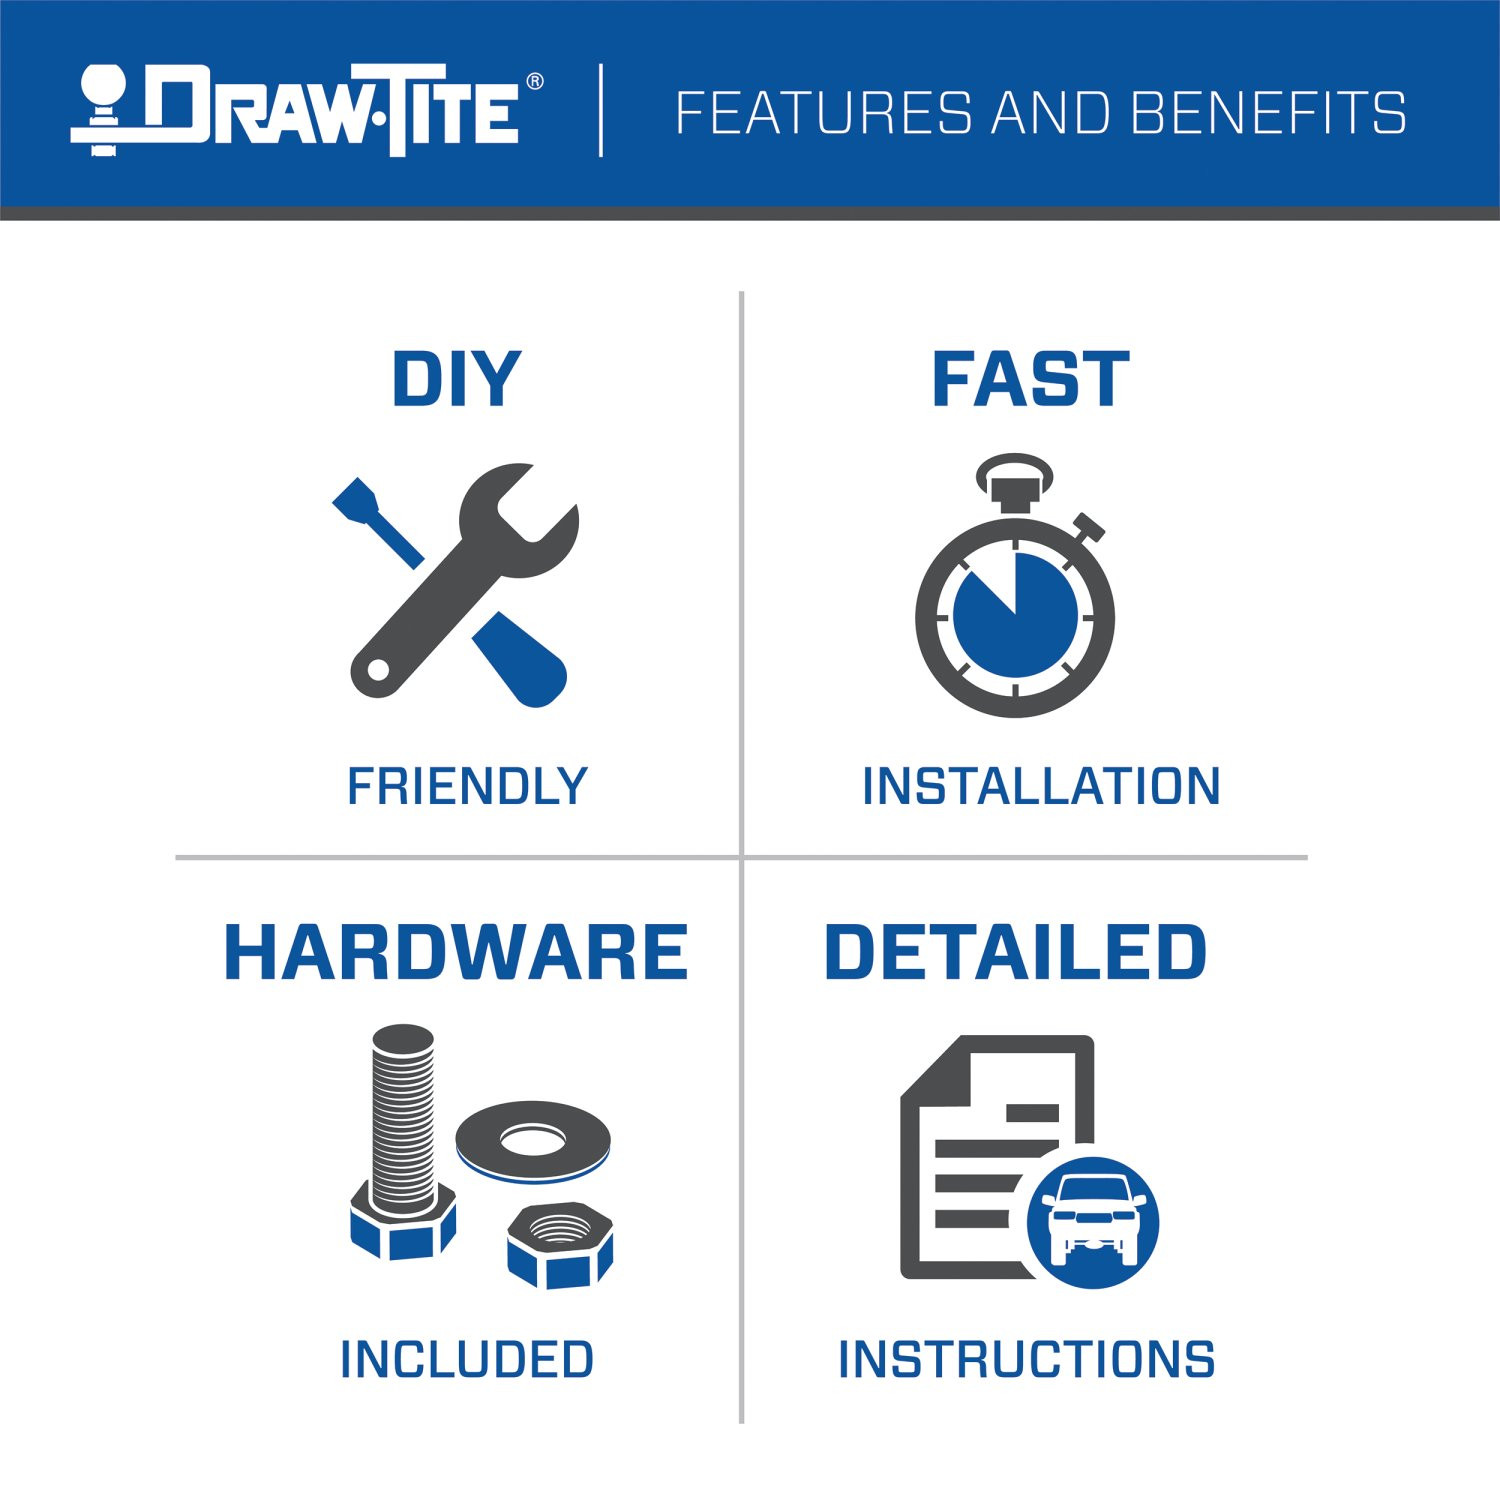
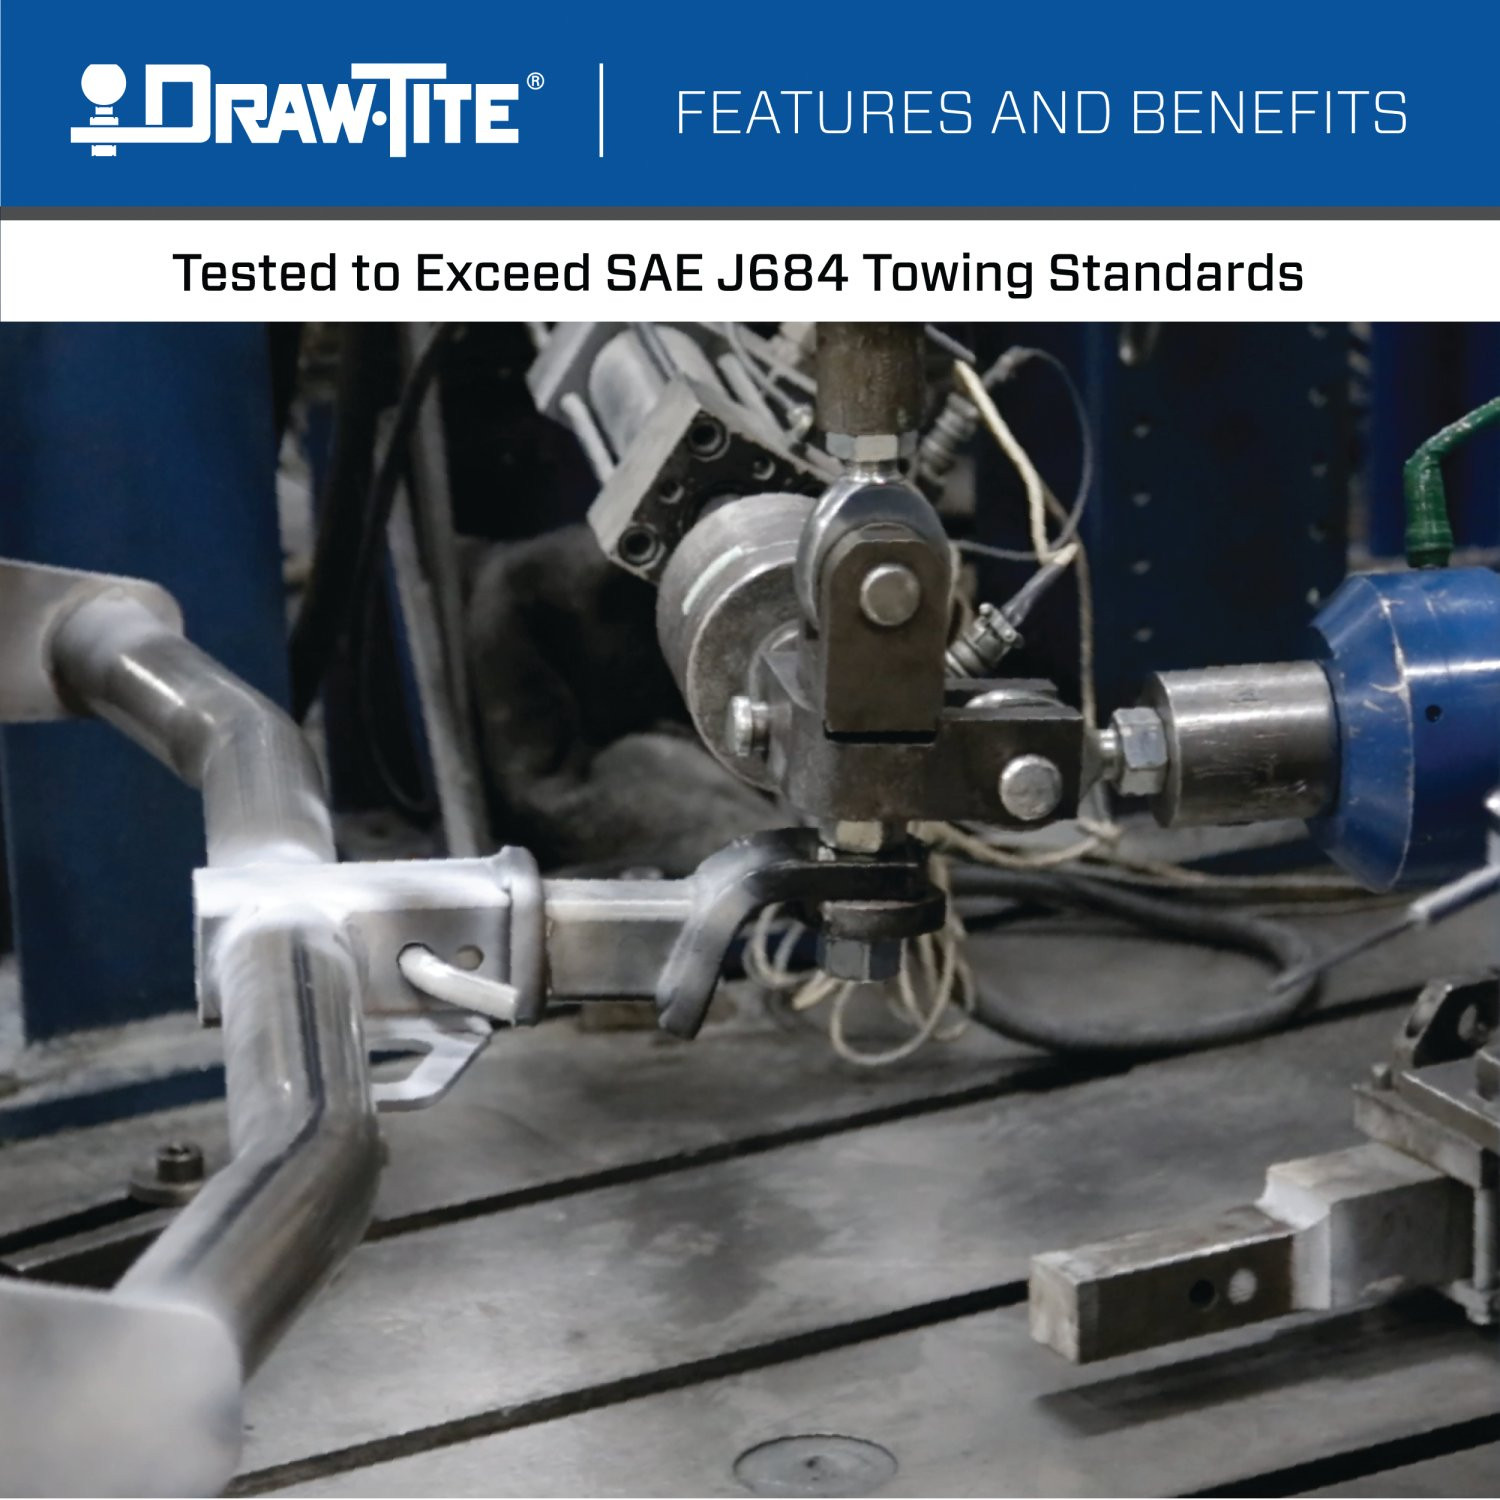
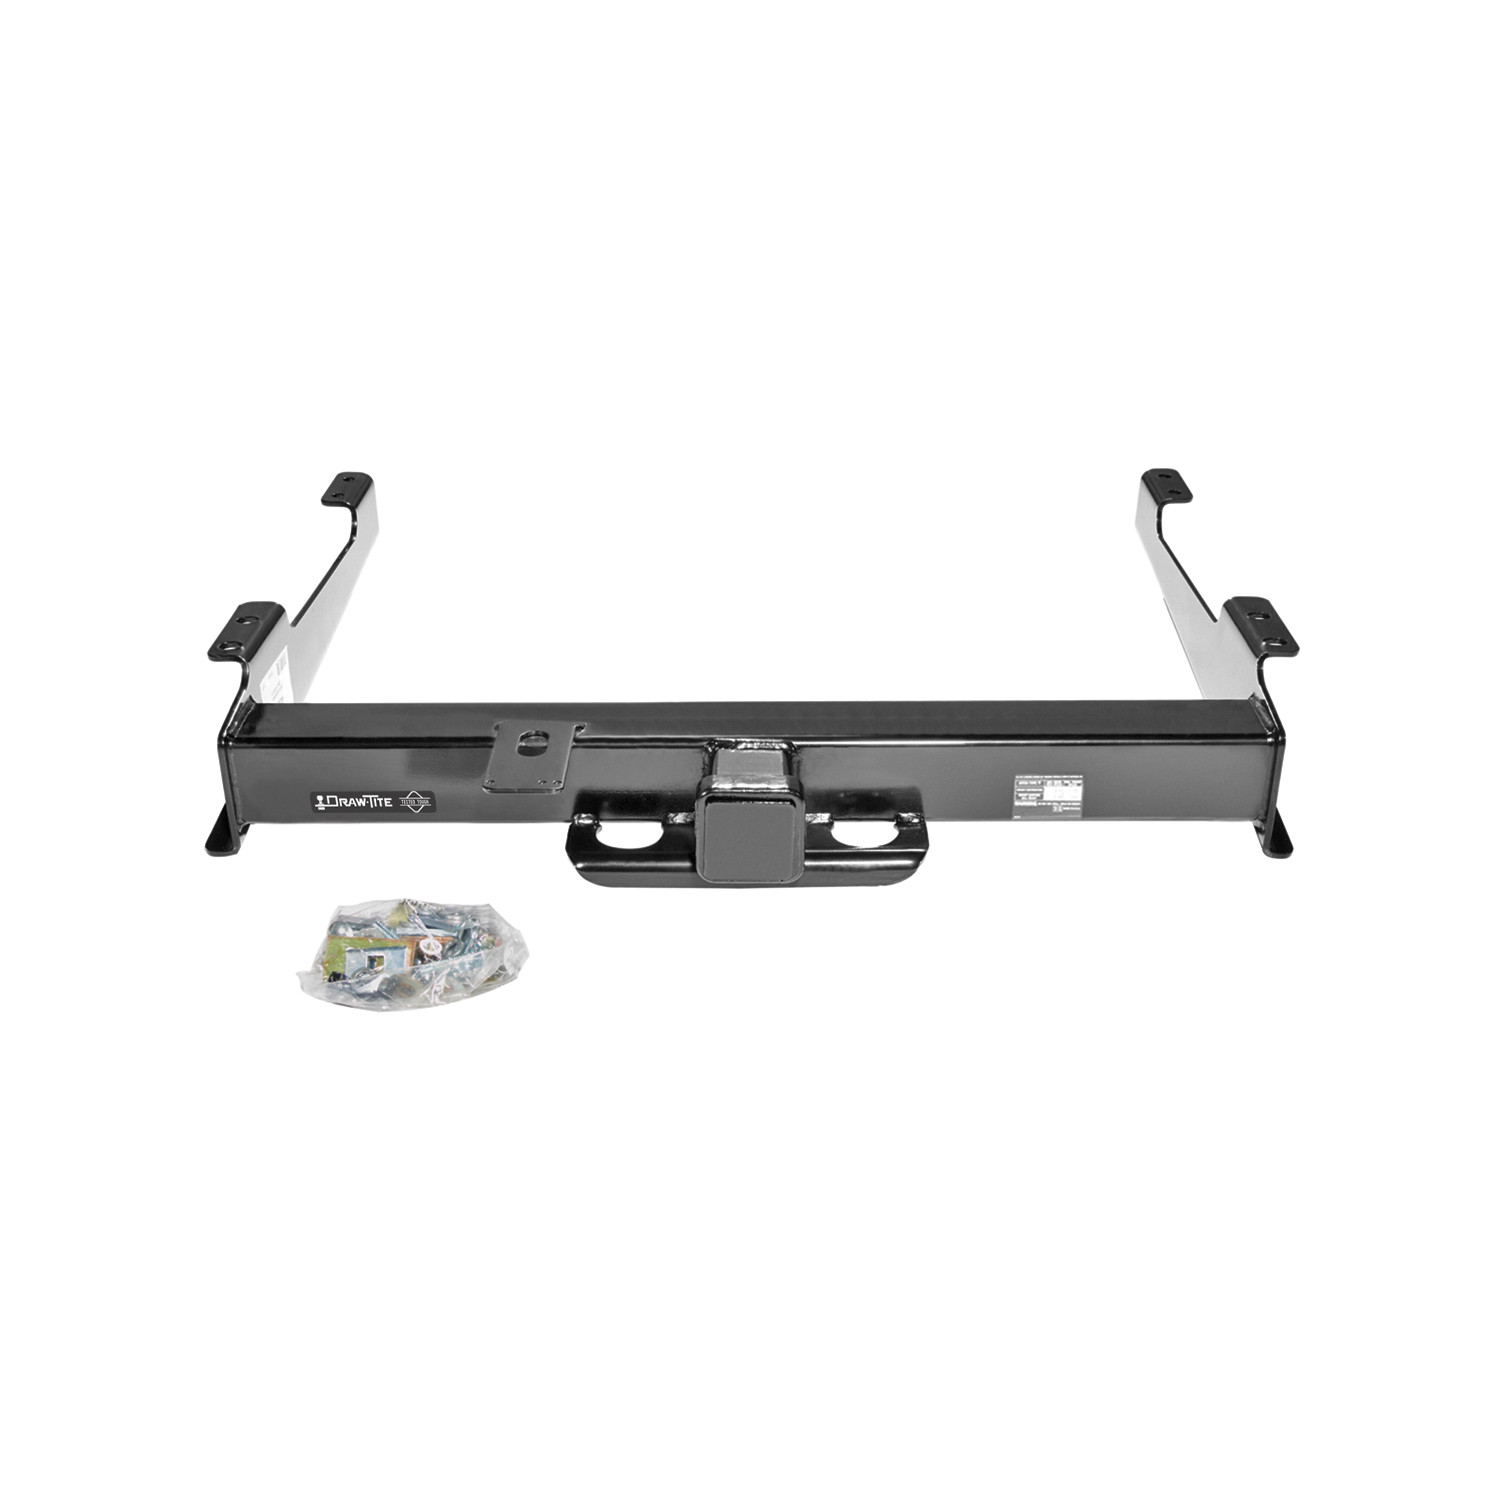

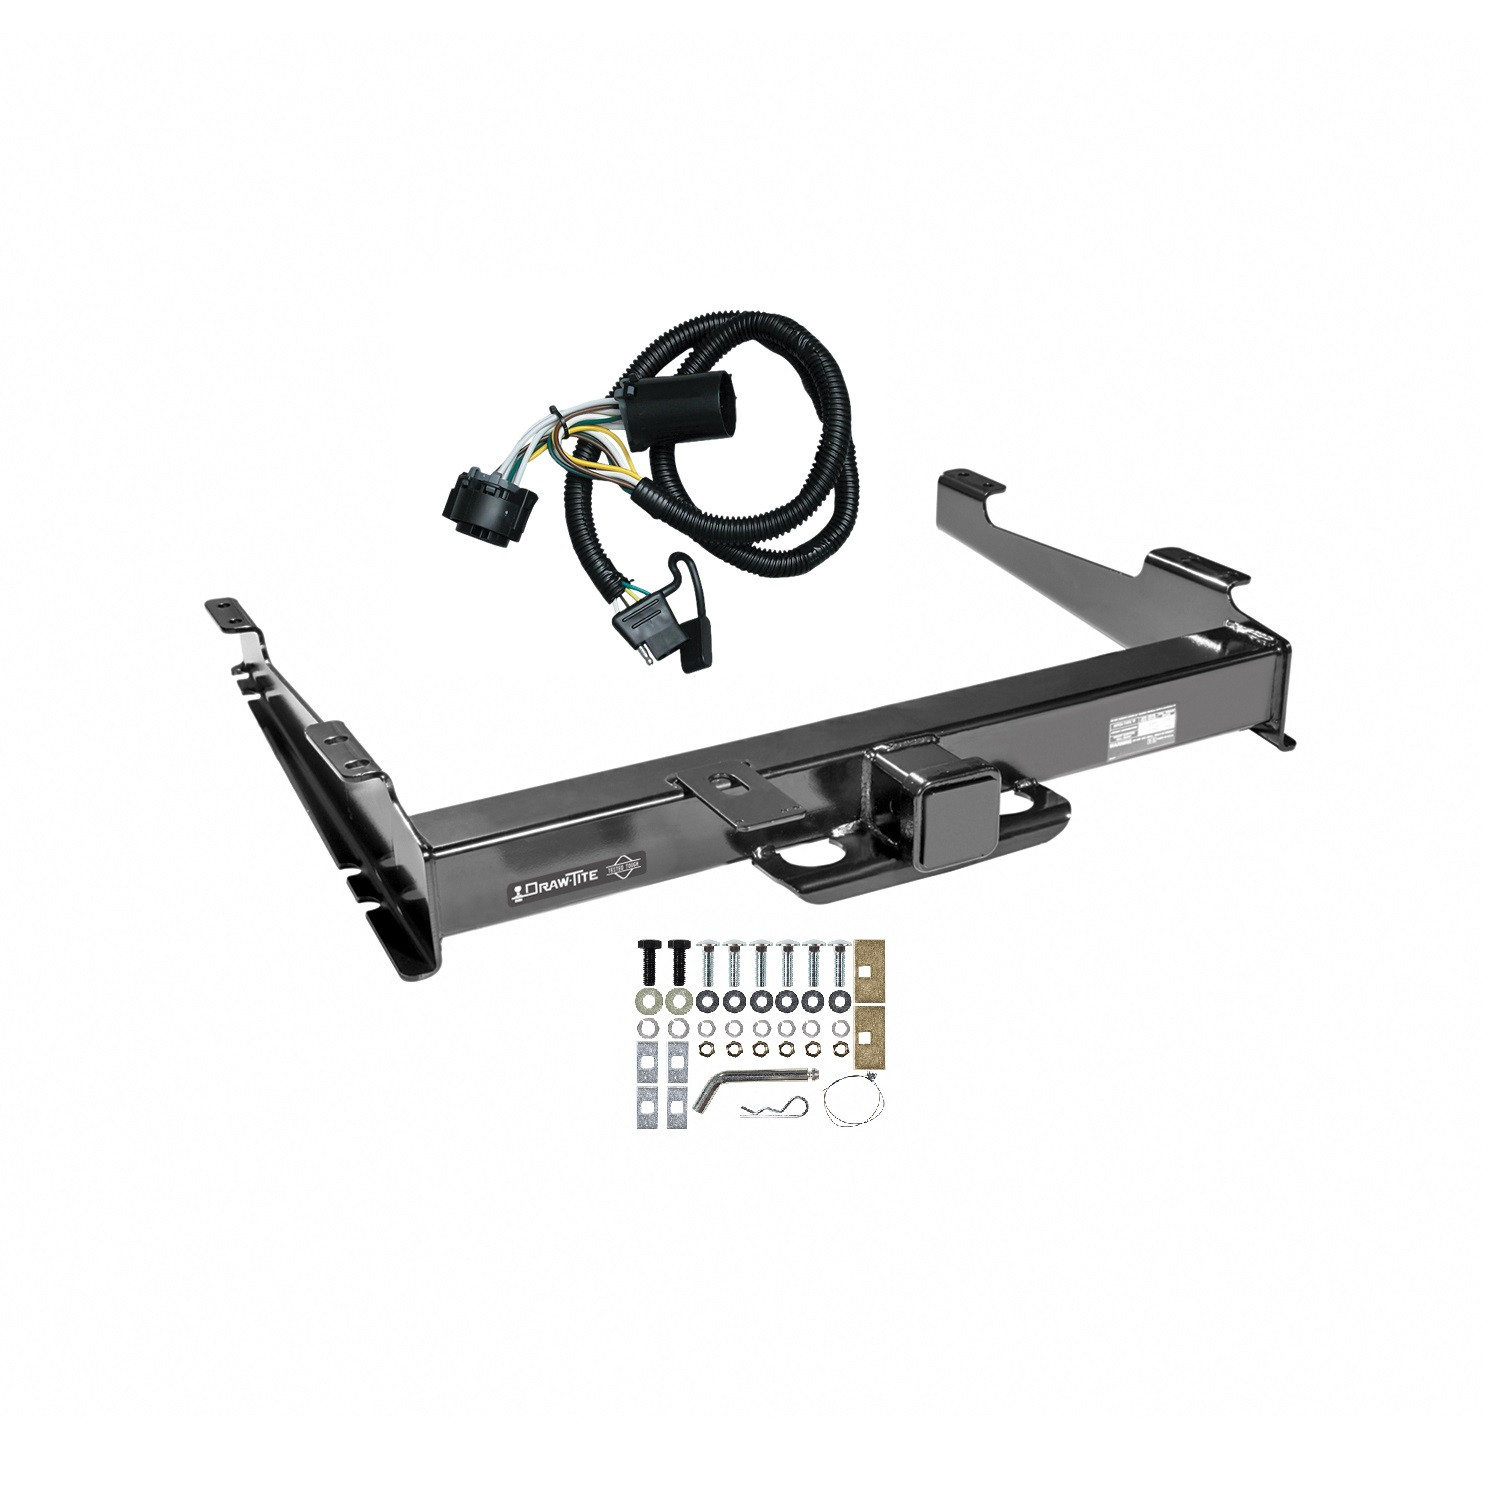
These durable custom hitches are manufactured for 2000-2006 Chevrolet Suburban 2500, 2000-2006 GMC Yukon XL 2500 and attach to your vehicle?s frame with strong, secure heavy-duty side brackets. The 2-1/2 inch square receiver tube opening, bigger chain loops, tighter ball mount fit, and reinforced pin holes make these heavy-duty hitches ideal for toy haulers and commercial vehicles alike. DRAW-TITE Class 5 custom trailer hitches come complete with all the mounting hardware needed for installation and are backed by a limited lifetime guarantee. So, whether you are headed out to the campground, the snowmobile trails, or off-roading, or you are hauling cargo to and from the job site, choose DRAW-TITE and travel with confidence knowing your setup is connected with the security only DRAW-TITE can provide. DRAW-TITE: North America?s Favorite Hitch.

Draw-Tite has designed custom-fit trailer hitches since 1946 and is one of North America's most widely fitted hitch brands. Receiver hitches use solid all-welded construction and low-profile designs that follow modern vehicle contours, install with minimal bumper cutting or drilling, meet or exceed V5 CSA and SAE J684 standards, and carry a limited lifetime warranty.
Draw-Tite has been leading custom-fit trailer hitch design and engineering since its founding in 1946, and it remains one of the most widely fitted hitch brands in North America. The company's stated approach is straightforward: every hitch is tested rigorously so that it performs well beyond published industry standards, a philosophy it markets as Tested Tough. It sits within the Horizon Global towing group alongside Reese, Fulton, Bulldog, Tekonsha, Bargman and Wesbar.
Custom fit is the defining characteristic. Rather than adapting a universal design, Draw-Tite engineers a trailer hitch for a specific make, model and model year, so it bolts to existing frame locations with minimal bumper cutting or drilling. Low-profile designs follow the rear contours and aerodynamic styling of modern vehicles, which matters more than it once did now that rear fascias are shaped and sensor-equipped. Construction is solid all-welded steel for maximum strength, and every hitch meets or exceeds V5 CSA and SAE J684 standards and is backed by a nationwide limited lifetime warranty.
The range spans receiver sizes and classes to suit different loads, from 1-1/4 inch receivers for bike racks, cargo carriers and light trailers up through 2 inch receivers for heavier towing. Front mount hitches add a receiver at the front of the vehicle for winch mounts, snow plows, spare carriers and precise trailer positioning.
The Hidden Hitch series takes concealment further by mounting behind the vehicle's rear fascia, so the vehicle keeps its factory appearance until a removable receiver is fitted. Each is custom designed per make and model for a no-drill installation that does not compromise ground clearance, rated for up to 3,500 pounds gross trailer weight and 350 pounds tongue weight. Matching plug-and-play wiring completes the towing system.
1 compatible vehicles
| Year | Make & Model | Notes |
|---|---|---|
| 2000 - 2002 | GMC Yukon XL 2500 | — |
Yes, the 2000-2002 GMC Yukon XL 2500 Draw-tite Titan Class 5 Trailer Hitch, 2-1/2 Inch Square Receiver Bundle w/ Plug-n-Play T-One Wiring Harness (Part #DTB45515-2-118384) is designed to fit the 2000-2002 GMC Yukon XL 2500.
The 2000-2002 GMC Yukon XL 2500 Draw-tite Titan Class 5 Trailer Hitch, 2-1/2 Inch Square Receiver Bundle w/ Plug-n-Play T-One Wiring Harness (Part #DTB45515-2-118384) fits the following vehicles: 2000-2002 GMC Yukon XL 2500. Always verify your specific year, make, and model before ordering.
The 2000-2002 GMC Yukon XL 2500 Draw-tite Titan Class 5 Trailer Hitch, 2-1/2 Inch Square Receiver Bundle w/ Plug-n-Play T-One Wiring Harness (Part #DTB45515-2-118384) fits 2000-2002 GMC Yukon XL 2500 models. The 2002 model year is the last year covered by this part number. For newer models, check for an updated version.
The 2000-2002 GMC Yukon XL 2500 Draw-tite Titan Class 5 Trailer Hitch, 2-1/2 Inch Square Receiver Bundle w/ Plug-n-Play T-One Wiring Harness (Part #DTB45515-2-118384) Refer to the included instructions for installation details. Basic hand tools are typically all you need.
Yes, part numbers 45515, 45715, and CQT45515 are designed for 2000-2002 Chevrolet Suburban 2500 and 1999-2004 GMC Yukon XL 2500. Check the manufacturer's website for the most up-to-date information regarding specific trim levels.
Yes, part numbers 45515, 45715, and CQT45515 are designed for 1999-2004 GMC Yukon XL 2500 and 2000-2002 Chevrolet Suburban 2500. Check the manufacturer's website for the most up-to-date information regarding specific trim levels.
You will need a ratchet, torque wrench, safety glasses, and sockets in 3/4" and 22 mm sizes. A drill with a 1/2" drill bit is also required. The manual recommends professional installation if you are not comfortable performing the work yourself.
Yes. You must drill four 1/2" holes into the vehicle frame using the remaining holes in the hitch bracket as a guide. Do not use a torch to cut holes.
All 1/2"-13 fasteners must be tightened to 75 ft-lbs (102 N·m) using a torque wrench.
All M14 fasteners must be tightened to 80 ft-lbs (108 N·m) using a torque wrench.
The maximum gross trailer weight is 12,000 lb (5,443 kg) and the maximum tongue weight is 1,200 lb (544 kg). Do not exceed the lower of your vehicle manufacturer's rating or these limits.
The maximum gross trailer weight is 14,000 lb (6,350 kg) and the maximum tongue weight is 1,700 lb (771 kg). Do not exceed the lower of your vehicle manufacturer's rating or these limits.
Part number 45515 is a hitch receiver manufactured by Cequent Performance Products, Inc. It is also available under part numbers 45715 and CQT45515. The hitch is designed for 2000-2002 Chevrolet Suburban 2500 and 1999-2004 GMC Yukon XL 2500 vehicles.
No. Part number 45515 is designed for 2000-2002 Chevrolet Suburban 2500 only. For 2003 and later models, check the manufacturer's website for the correct part number, as fitment varies by year and trim level.
No. Part number 45515 is designed for 1999-2004 GMC Yukon XL 2500. Your 1998 model is outside the supported range. Check the manufacturer's website for the correct part number for your vehicle.
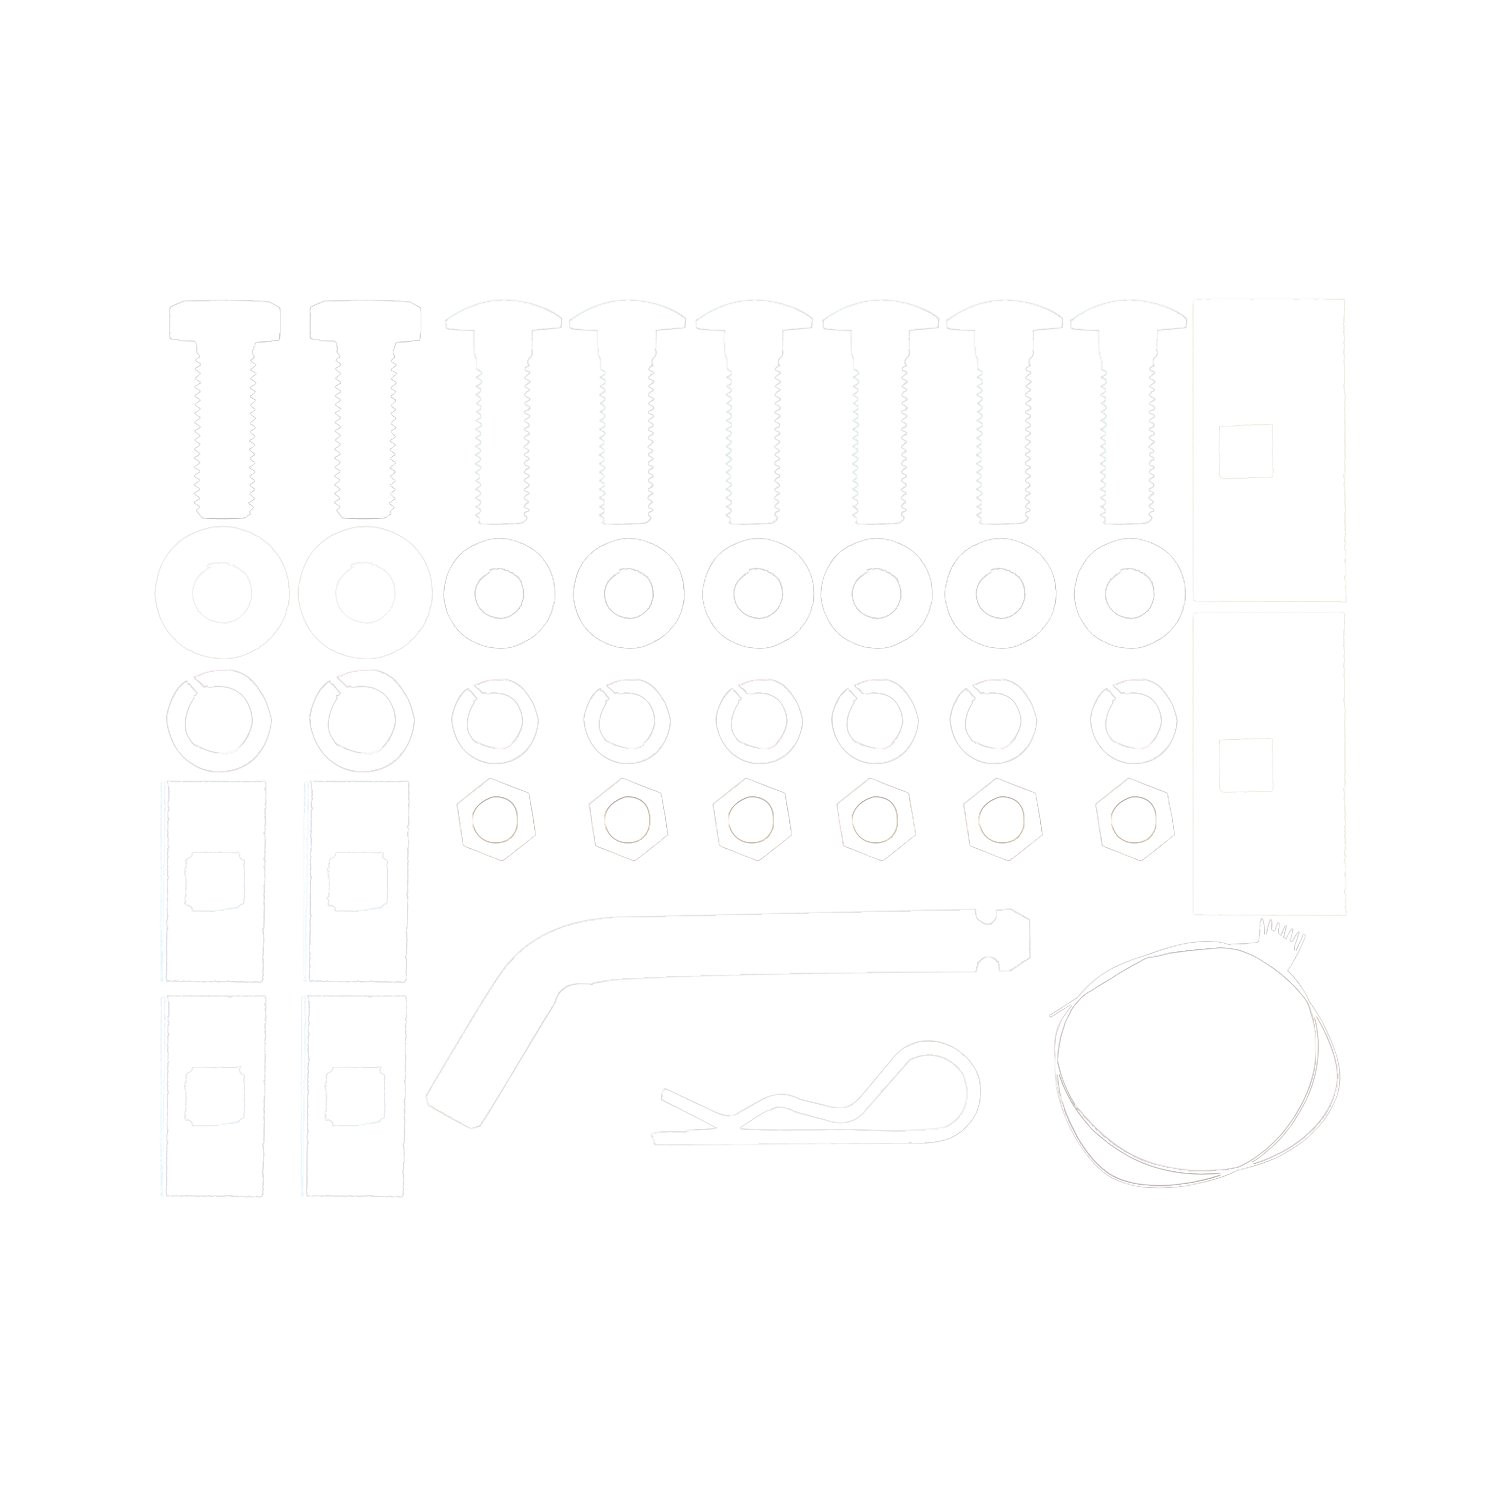
The fastener kit (45515F) includes: 6 × 1/2" lock washers, 2 × 5/8" lock washers, 6 × 1/2"-13 carriage bolts (Grade 5, 2.00" long), 2 × M14 hex bolts (Class 10.9, 45 mm long), 2 × bolt plates (0.25" × 1.50" × 3.00"), 4 × spacers (0.25" × 1.00" × 2.00"), 6 × 1/2" flat washers, 6 × 1/2"-13 hex nuts (Grade 5), 6 × 1/2"-13 pull wires, and 2 × 5/8" flat washers.
The manual does not specify whether the battery must be disconnected. This is a mechanical installation with no electrical work, but consult your vehicle manufacturer's instructions or a professional installer if you are uncertain.
The average installation time for professional installers is 50 minutes. If you do not feel comfortable performing the installation yourself or need assistance, contact a professional installer.
The manual does not specify whether lifting equipment is required. However, it does state that you must observe safety precautions when working beneath a vehicle. Consult a professional installer if you are unsure whether your vehicle needs to be lifted.
The Pullwire Technique is used to install carriage bolts through access holes in the vehicle frame. You pull a 1/2" carriage bolt and a spacer or bolt plate through the access hole and into the hitch holes. The pull wire is kinked to keep the spacer independent of the bolt during installation. This technique allows fasteners to be installed without removing the hitch.
Follow these steps in order: (1) Remove one existing M14 bolt from the rear of each frame. (2) Install the hitch using one M14 bolt, one 5/8" lock washer, and one 5/8" flat washer in the weldnut. (3) Install the second fastener set using the Pullwire Technique: one 1/2" carriage bolt and one bolt plate through the access hole into the second rear-most hole in the hitch, secured with one 1/2" flat washer, one 1/2" lock washer, and one 1/2"-13 nut. (4) Drill four 1/2" holes into the frame using the remaining hitch holes as a guide. (5) Install the remaining fasteners using the Pullwire Technique: one 1/2" carriage bolt and one spacer through each access hole into each newly drilled hole, secured with one 1/2" flat washer, one 1/2" lock washer, and one 1/2"-13 nut. (6) Tighten all 1/2"-13 fasteners to 75 ft-lbs (102 N·m) and all M14 fasteners to 80 ft-lbs (108 N·m).
The manual states to remove the existing M14 bolts and return them to the owner. It does not explicitly state whether they can be reused. The fastener kit includes new M14 hex bolts (Class 10.9, 45 mm long), which should be used for installation. Contact the manufacturer if you need clarification on reusing the original bolts.
The manual does not specify which fasteners, if any, should remain loose during intermediate steps. All fasteners are tightened to their final torque specifications in Step 6. Consult the step-by-step photo instructions available at http://www.cequentgroup.com/qr-product.aspx or contact a professional installer if you need clarification.
You must drill four 1/2" holes into the vehicle frame. Use the remaining holes in the hitch bracket as a guide. Do not use a torch to cut the holes.
The installation requires drilling four 1/2" holes into the vehicle frame, which is a permanent modification. If the hitch is removed, you must plug all holes in the trunk pan or other body panels to prevent entry of water and exhaust fumes.
The M14 hex bolt must be tightened to 80 ft-lbs (108 N·m) using a torque wrench. This fastener is installed in the weldnut where the existing M14 bolt was removed.
All 1/2"-13 carriage bolts must be tightened to 75 ft-lbs (102 N·m) using a torque wrench. This applies to all six carriage bolts installed during the installation process.
Always wear safety glasses when installing the hitch. Observe safety precautions when working beneath a vehicle. Do not cut access or attachment holes with a torch. Read, understand, and follow all warnings and instructions before installation. Keep the instructions for future reference.
No. Do not cut, weld, or modify the receiver. Doing so may compromise the structural integrity and safety of the hitch.
If excessive sway occurs, take your foot off the gas pedal and hold the steering wheel as steady as possible. Do not apply your brakes and do not speed up. Slow down when towing and never exceed any posted speed limit.
Load the trailer heavier in front. This helps maintain proper weight distribution and stability while towing.
After installation, check that all fasteners are tight and the hitch is securely mounted to the vehicle. The manual recommends checking the hitch frequently to ensure all fasteners and the ball are properly tightened. Proper torque is needed to keep the hitch secure when towing.
Check the hitch frequently to ensure all fasteners and the ball are properly tightened. The manual does not specify an exact interval, but recommends periodic checks to maintain security while towing.
If the hitch is removed, plug all holes in the trunk pan or other body panels to prevent entry of water and exhaust fumes. A hitch or ball that has been damaged should be removed and replaced.
A hitch or ball that has been damaged should be removed and replaced. Do not attempt to repair a damaged hitch or ball.
Check that all fasteners are tight. Using a torque wrench, verify that all 1/2"-13 fasteners are tightened to 75 ft-lbs (102 N·m) and all M14 fasteners are tightened to 80 ft-lbs (108 N·m). Proper torque is needed to keep the hitch secure to the vehicle when towing. If fasteners are loose, retighten them to the specified torque values.
Plug all holes in the trunk pan or other body panels to prevent entry of water and exhaust fumes. The installation of part number 45515 requires drilling four 1/2" holes into the frame. If the hitch is removed, these holes must be sealed.
The unit is rated for 7.5 amps per circuit.
Yes. The T-connector is designed to work with both vehicles without a factory 7-way and vehicles with a factory 7-way connector. For vehicles with a factory 7-way, the T-connector plugs between the factory socket and the 7-way connector.
Yes. For vehicles without a factory 7-way, the T-connector adapter connects directly to the vehicle's trailer harness connector, which is located under the vehicle behind the bumper on the driver's side.
The trailer harness connector is located under the vehicle, behind the bumper, on the driver's side of the vehicle.
The factory 7-way connector is attached to the hitch on the driver's side of the vehicle.
Yes. Before connecting the T-connector, check that the mating surfaces of the connectors are free of dirt and clean them if necessary.
1. Locate the vehicle's trailer harness connector under the vehicle behind the bumper on the driver's side. 2. Remove the protective cap and clean the connector mating surfaces if necessary. 3. Connect the T-connector adapter end to the vehicle's connector, ensuring it is fully inserted with locking tabs in place. 4. Place the protective cap on the remaining plug end.
1. Locate the factory 7-way connector attached to the hitch on the driver's side. 2. Separate the factory socket from the 7-way connector. 3. Plug the T-connector between the factory socket and the 7-way connector.
The T-connector has locking tabs that secure it to the vehicle's connector. You must push the T-connector in completely until you hear or feel the locking tabs engage, ensuring a secure connection.
Yes. The manual instructs you to save the protective cap after removing it from the connector. You will place it on the remaining plug end after the T-connector is installed.
Test the installation with a test light or trailer. This confirms that the electrical connection is working correctly.
Yes. The T-connector works with both types. For vehicles without a factory 7-way, it connects directly to the vehicle's trailer harness. For vehicles with a factory 7-way, it plugs between the factory socket and the 7-way connector.
No special tools are required. The T-connector uses a push-fit design with locking tabs. You will need a test light or trailer to test the installation after connecting.
No. The T-connector is a plug-and-play adapter that requires no drilling, cutting, welding, or vehicle modifications.
The unit is rated for 7.5 amps per circuit.
Yes. Check that the mating surfaces are free of dirt and clean them if necessary before connecting.
Total for 1 item: $210.95$137.99

Order by 2 PM ET, Monday–Friday, and it ships the same day.
No reviews have been added for this product.